Pihole as our local DNS at home has been working perfectly fine. It blocks almost every ad there is whenever I am browsing. I was initially running it as a docker container within my Unraid server. The problem is every time I would restart Unraid for some experimental work, the internet of the entire house also goes down momentarily. I already tried defining a secondary DNS on my DHCP server but noticed some of my devices would randomly pick a DNS if there are multiple defined. Now that I have a Proxmox running OPNsense, I just thought of running Pihole there instead, since anyway I rarely restart that box.
Proxmox already supports LXC containers by default and in this case, running Pihole on LXC provides some advantage in terms of flexibility and ease of configuration. This is especially for those who have less experience working with docker but only with Linux in general. I will share one good use case for this later on but for now let’s start setting up Pihole on Proxmox.
The hardware requirements according to the pihole documentation: Minimum of 2GB disk (4GB recommended) 512MB RAM
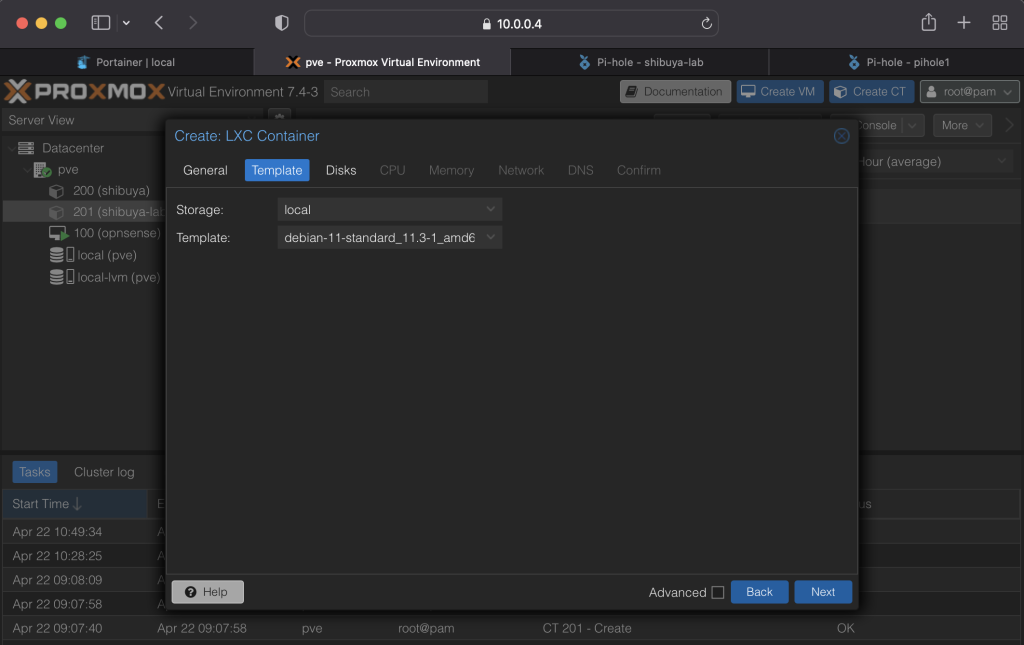
First you need to download an LXC template. I like using debian as the base image since it’s very lightweight and it’s where Ubuntu is based from. If you don’t have it yet, you can download it by going to Datacenter > pve > storage > CT templates > Templates and search for Debian 11 Bullseye.

Click on Create CT and input a container ID, hostname, and the root password. Check Unprivileged container and nesting (optional). Note that nesting is not really required but in my case the proxmox terminal will keep on printing permission errors if I leave this unchecked.

Select debian as the template.
For disk, I assigned 6GB. For RAM, double the recommended, since I have enough.

Assign a static IP to the container. Gateway should also be defined.
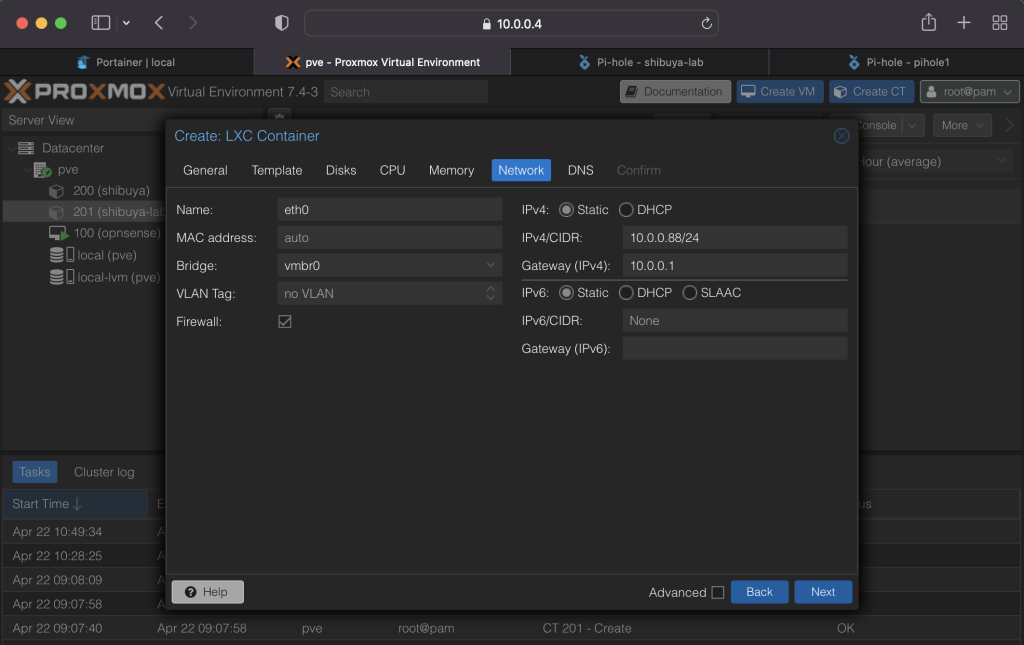
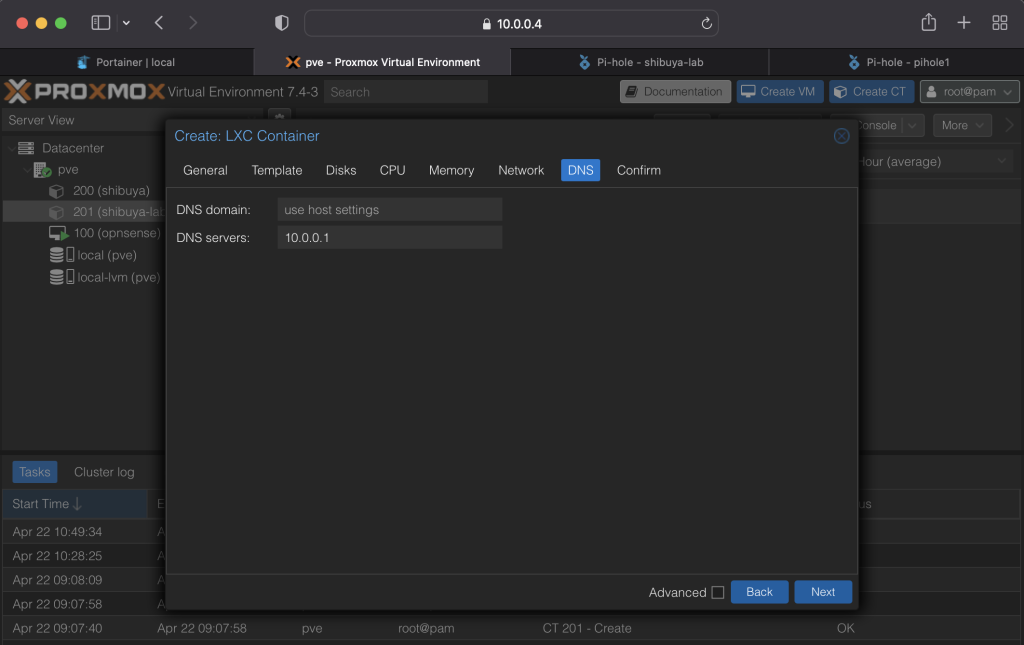
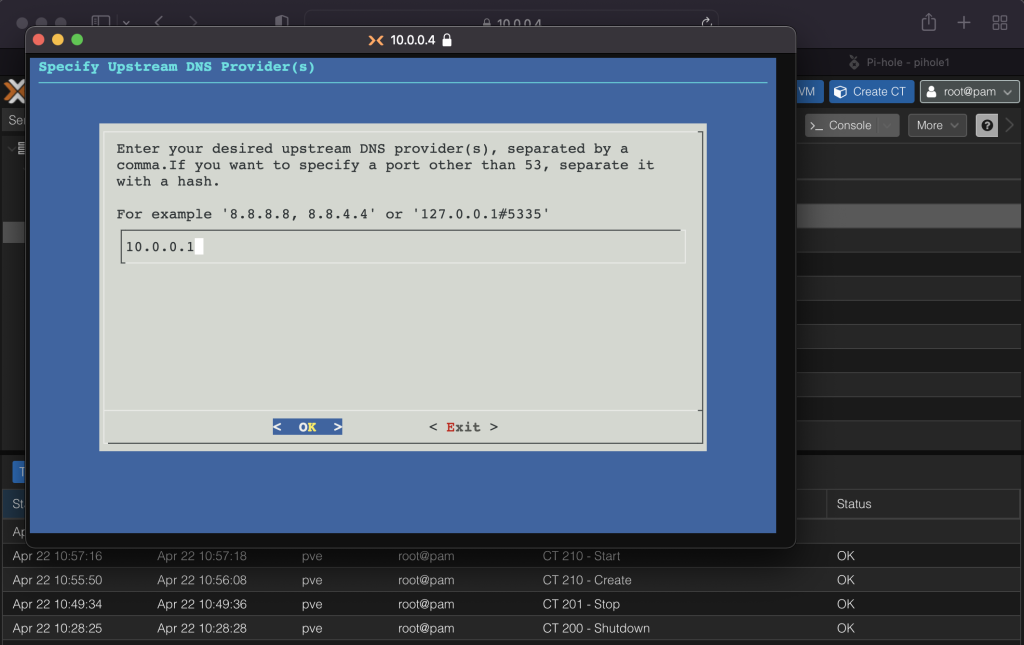
For DNS I will assign my unbound IP which is the same as my OPNsense gateway IP. (Unbound is a DNS caching tool built-into OPNsense). This will basically be my upstream DNS for my Pihole. If you don’t have Unbound running then you can input any public DNS like Google (8.8.8.8, 8.8.4.4) or Cloudflare (1.1.1.1).
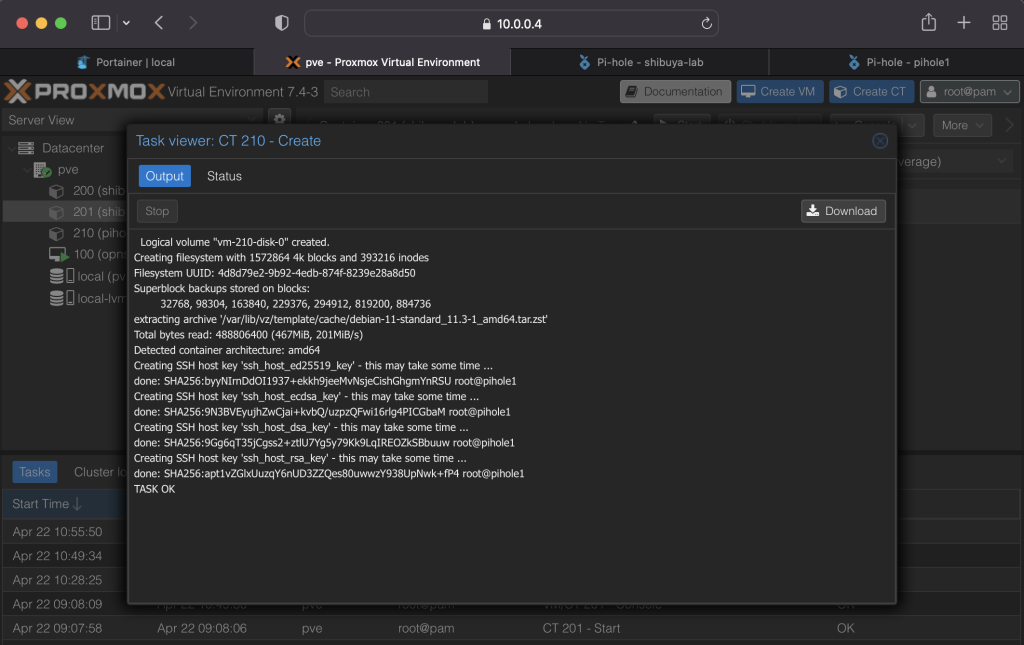
Confirm
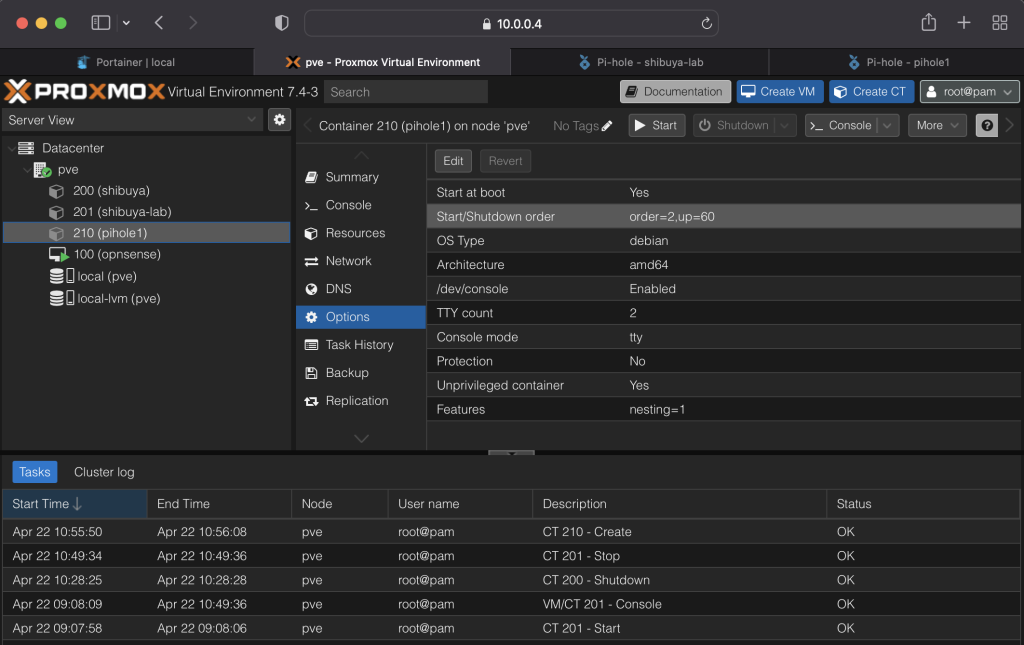
Enable start on boot flag.
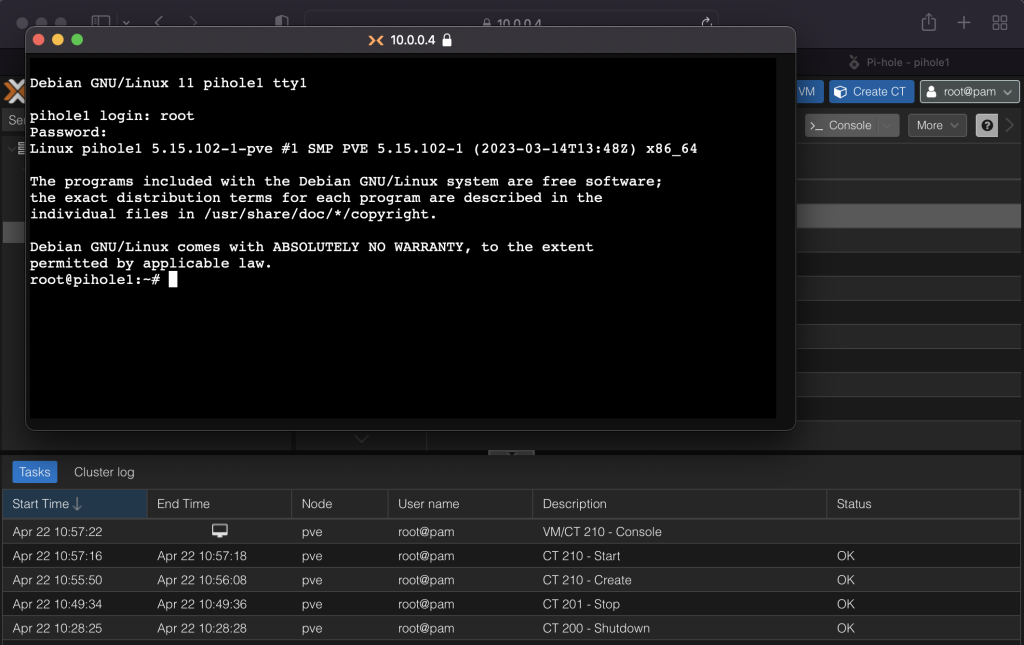
Login as root
Update and upgrade
apt-get update -y && apt-get upgrade -y
Install curl:
apt-get install curl -y

Install Pihole:
curl -sSL https://install.pi-hole.net | bash
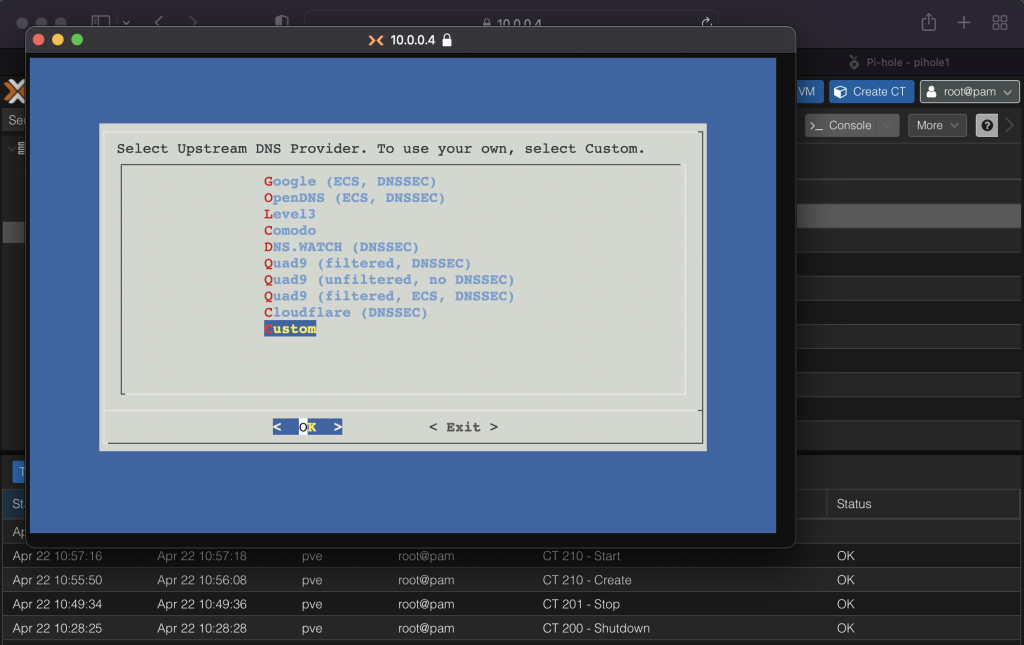
Install custom upstream and point to unbound IP
Install the default blacklist.

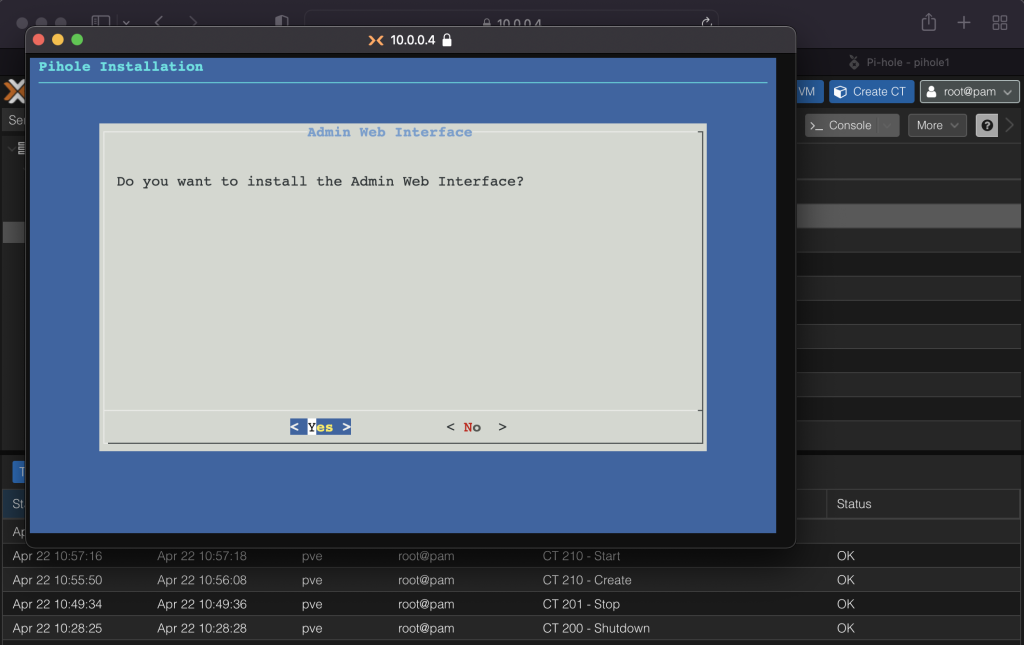
Install admin interface and lighthttpd.
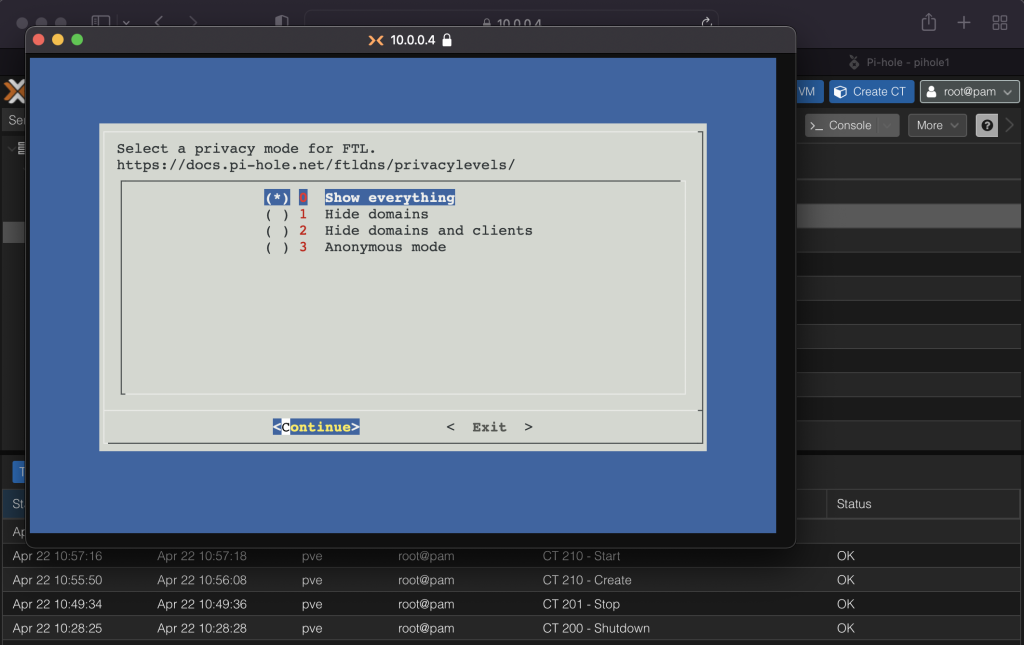
Query logging or any other option is fine.
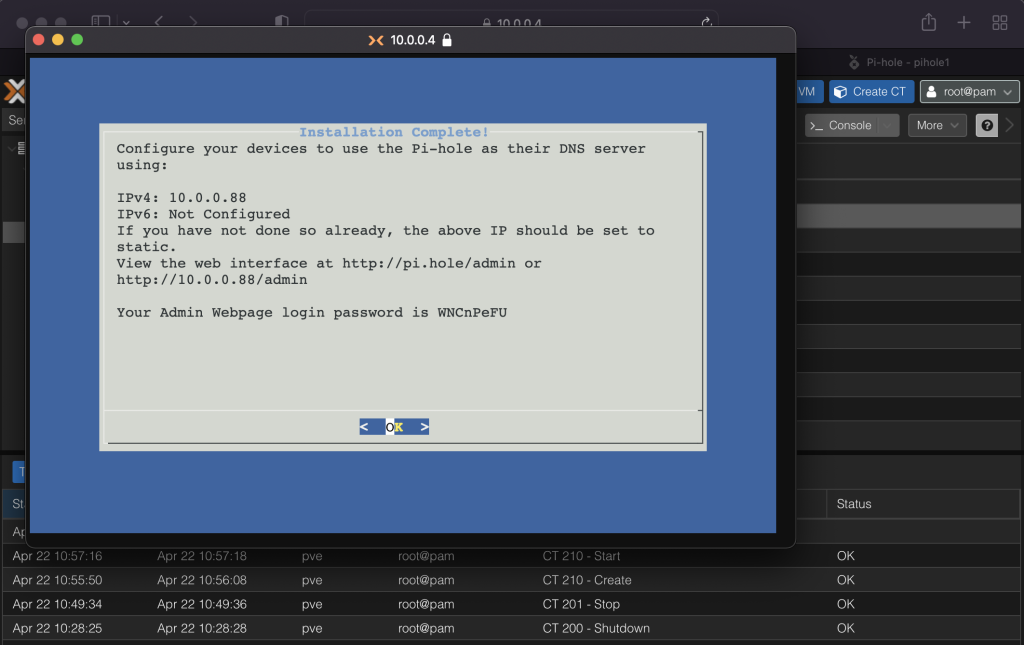
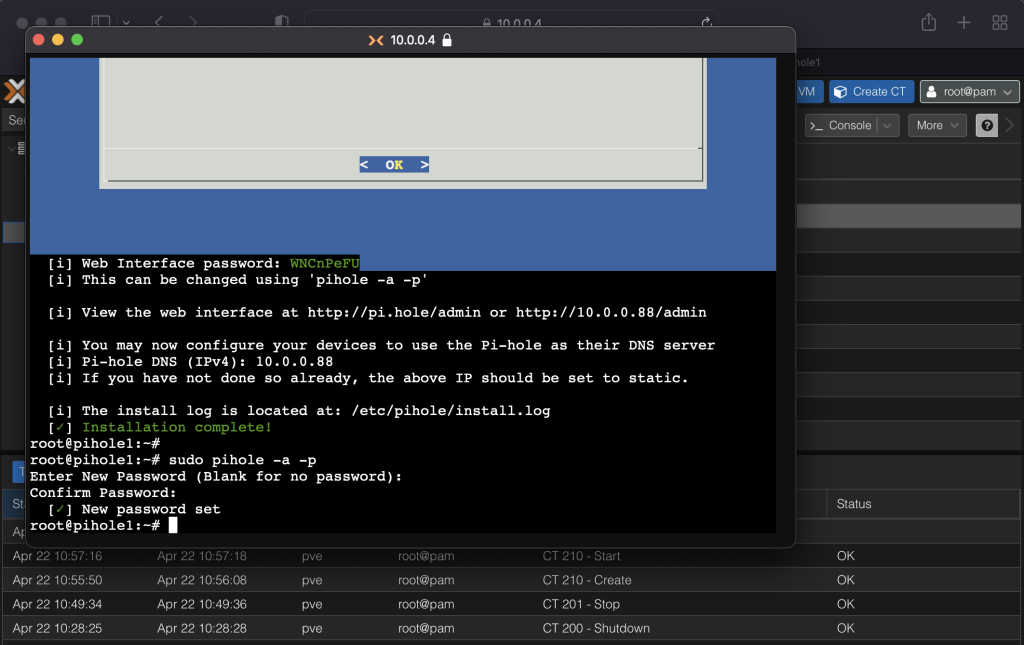
Reset the pihole password.
sudo pihole -a -p
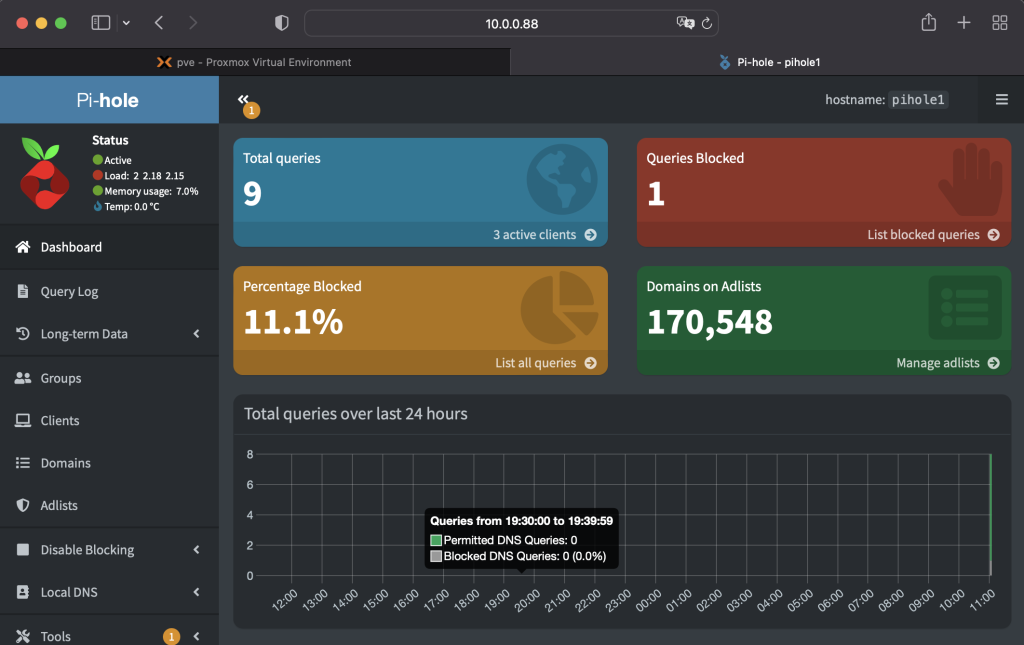
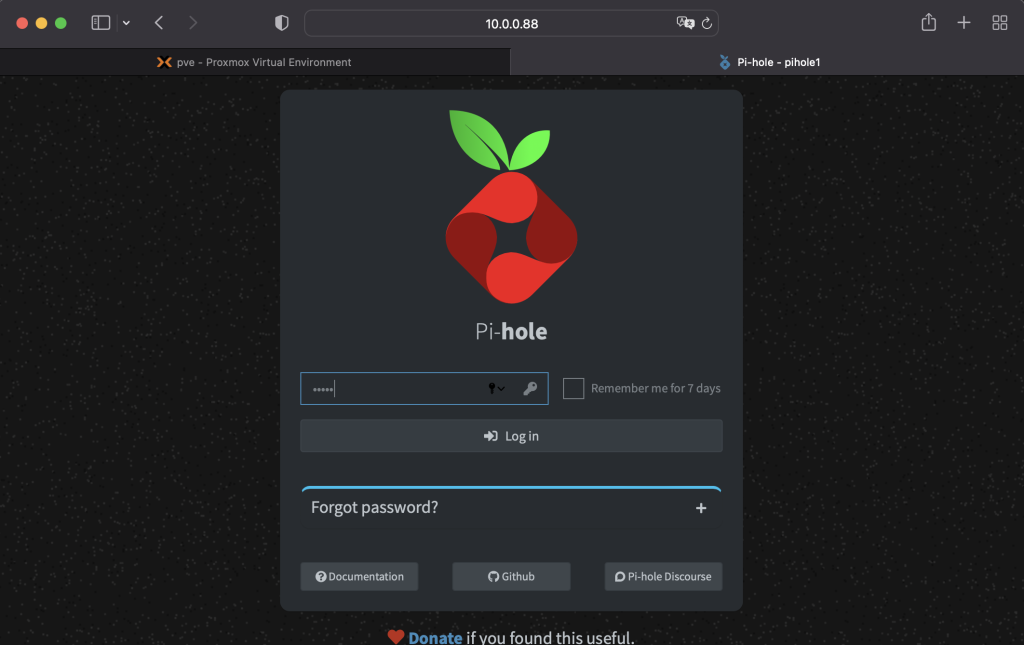
Now go to your container IP and append /admin (e.g. http://10.0.0.88/admin)
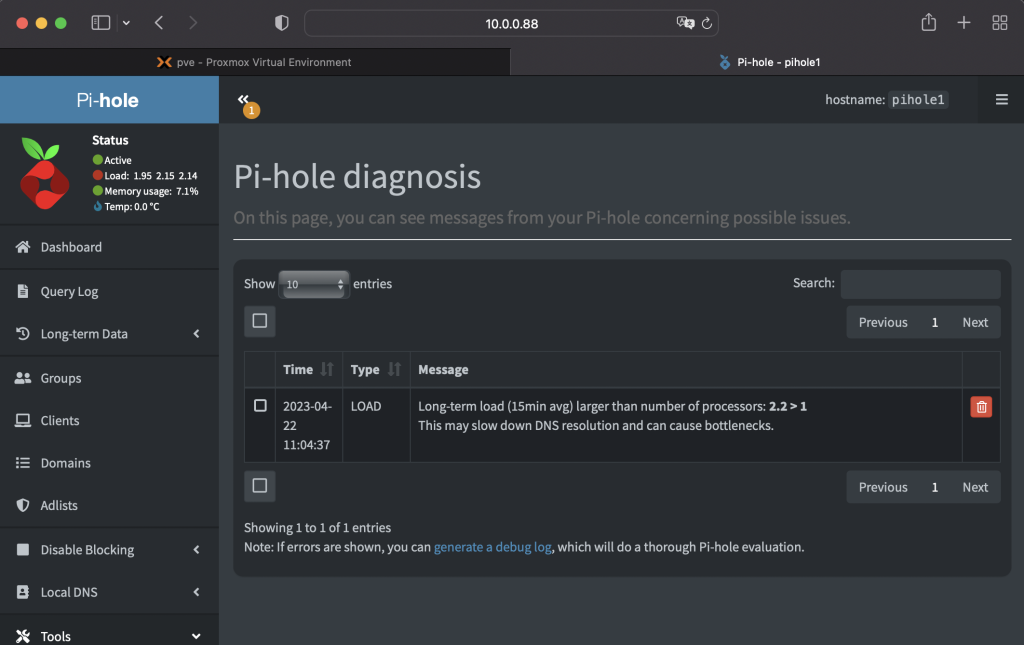
If you are running it on proxmox like me you’d probably get the same error as in the snap below. You can ignore this especially if you have multi-core host. If you want to be sure you can check your CPU utilization with the top command.
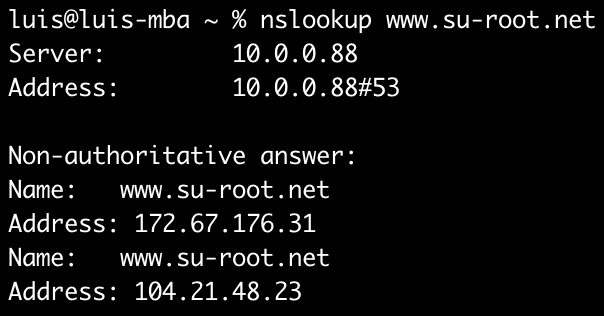
After changing your DNS to pihole, check with nslookup if your device is able to send and receive to and from the Pihole IP.