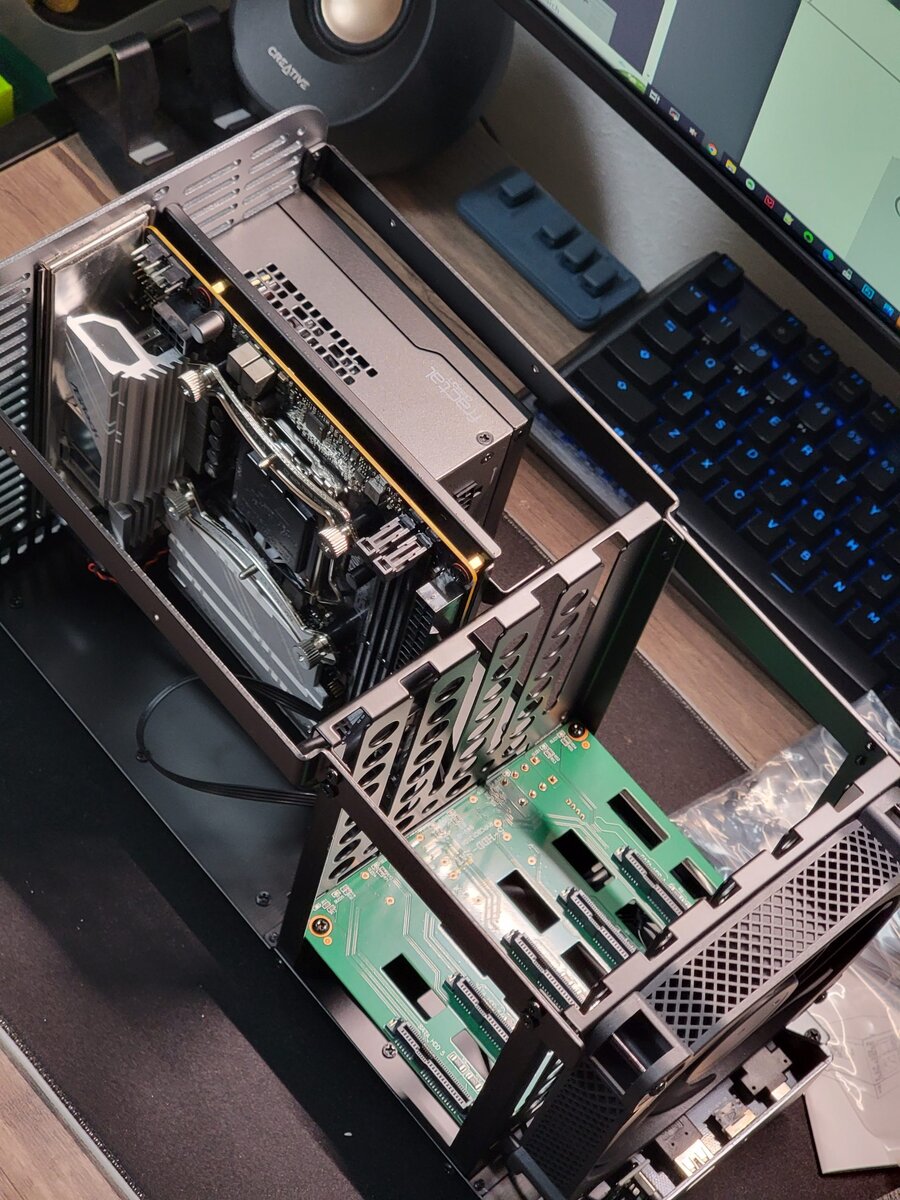
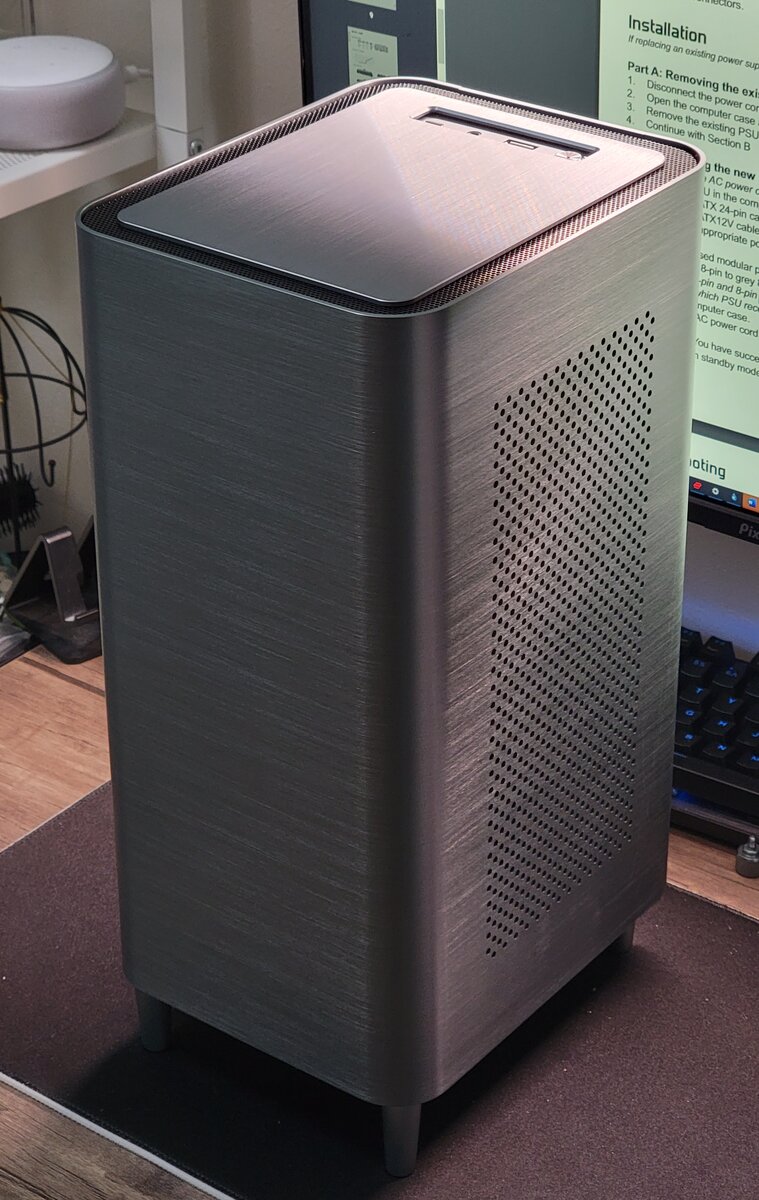
Just very recently I managed to assemble my second NAS — a beefed up version of my first one back in 2012. I decided to settle on an 11th-gen Intel system.
- Motherboard: Asrock H570M-ITX/AC
- CPU: Intel Core i7-11700
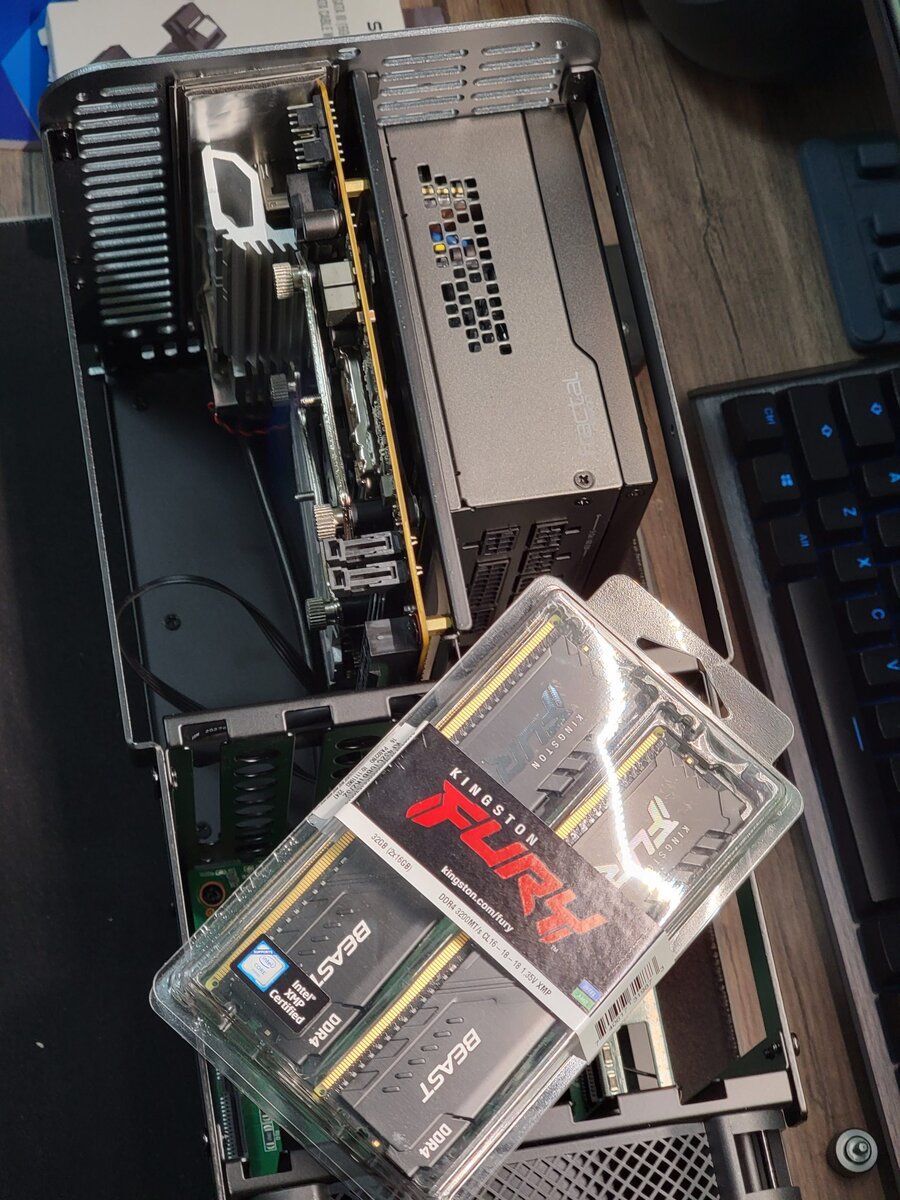
- RAM: Kingston Fury DDR4 3200MT/s 16GB x 2
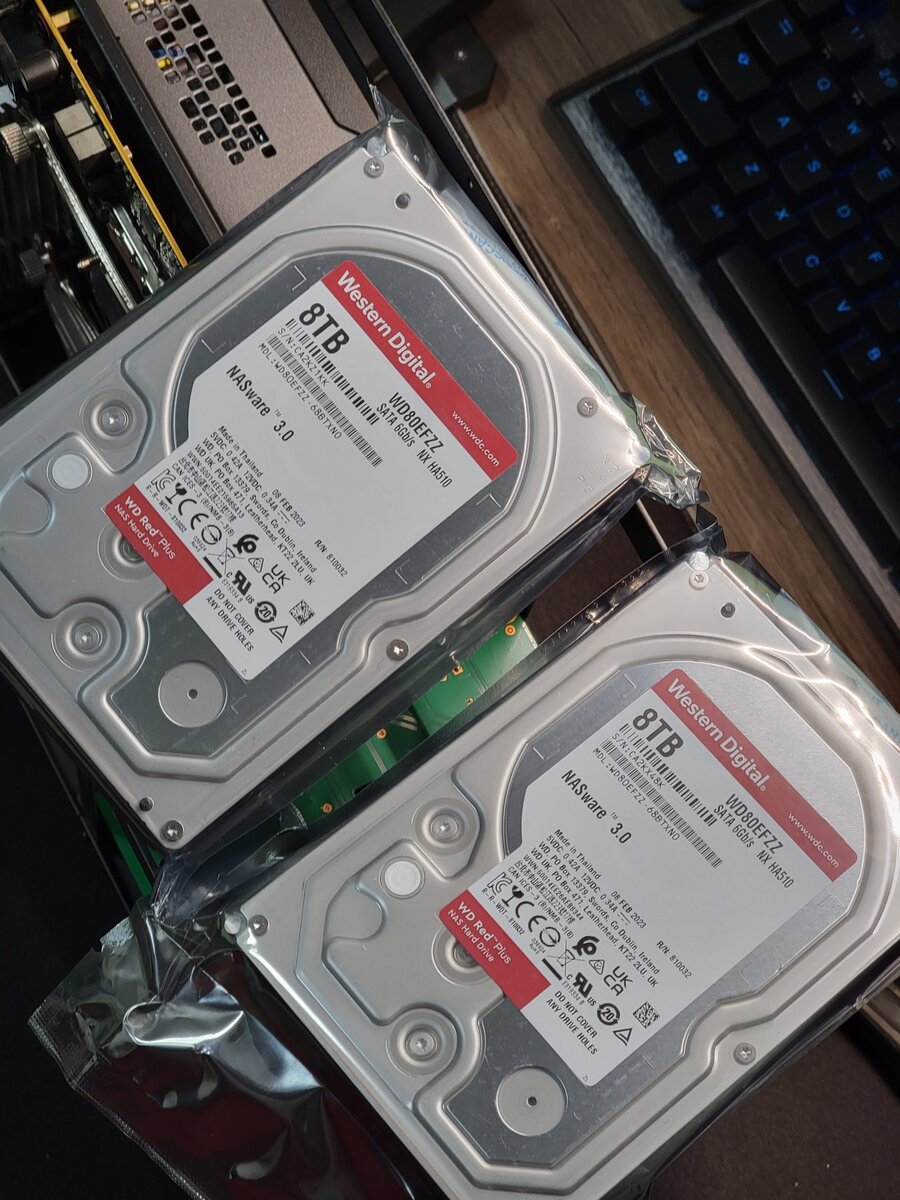
- Drives: 2x 8 TB WD Red Plus, 2x 1TB Samsung 980 NVMe, 1x 500GB Samsung 860 EVO
- PSU: Fractal Design ION SFX-L 500W 80PLUS Gold
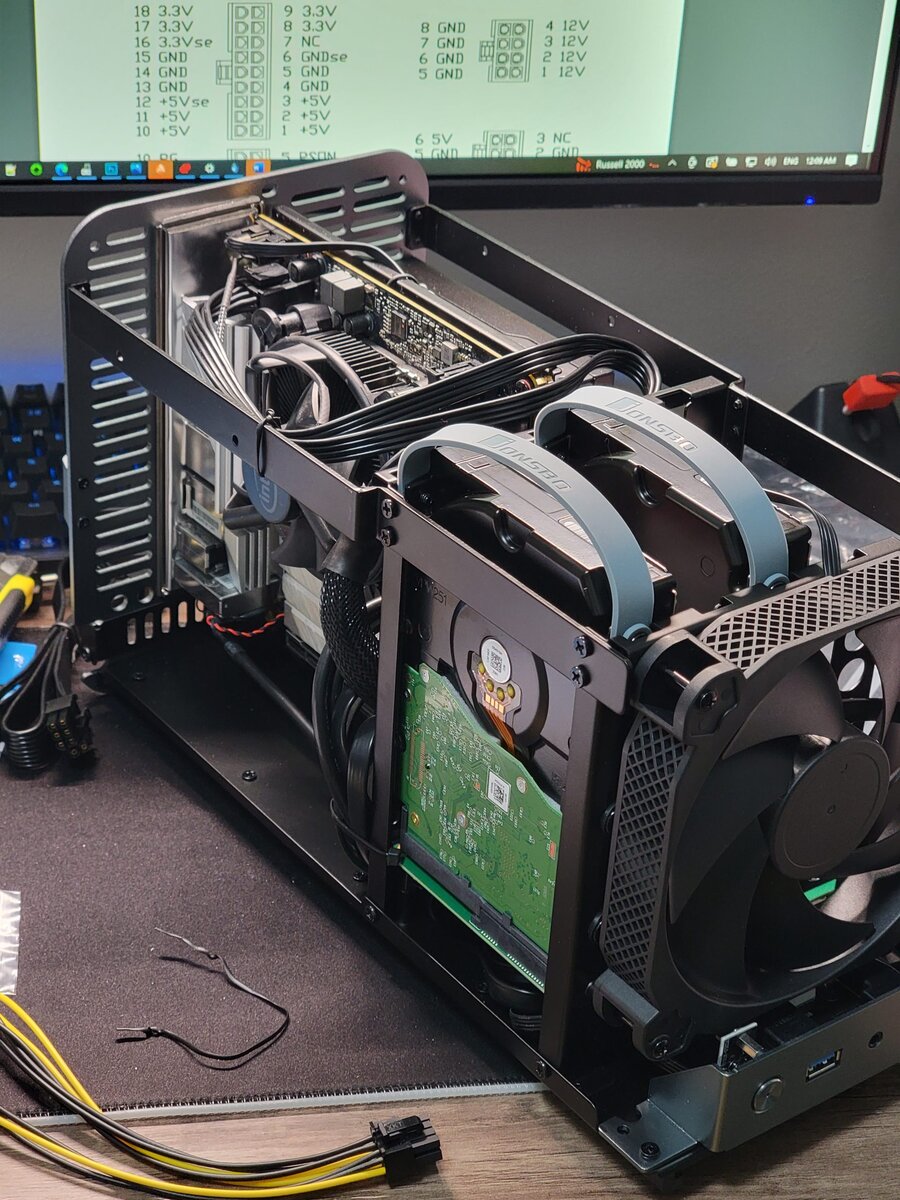
- Case: Jonsbo N1

Below you can find the steps I followed to install unRAID v6.11.5 with the help of SpaceInvaderOne’s video. Of course only follow at your own risk. I would even advise you to go to SpaceInvaderOne’s youtube channel and watch his videos instead.
Preparation
- Create a bootable USB with the Unraid USB creator and allow UEFI boot since there is no external GPU.
- Change boot order to have USB as first priority.
- Enable VD-T and all other virtualization settings in BIOS.
- Disable built-in RAID function in BIOS.
- Plug server to router and access using kamata.local (name-of-server.local)
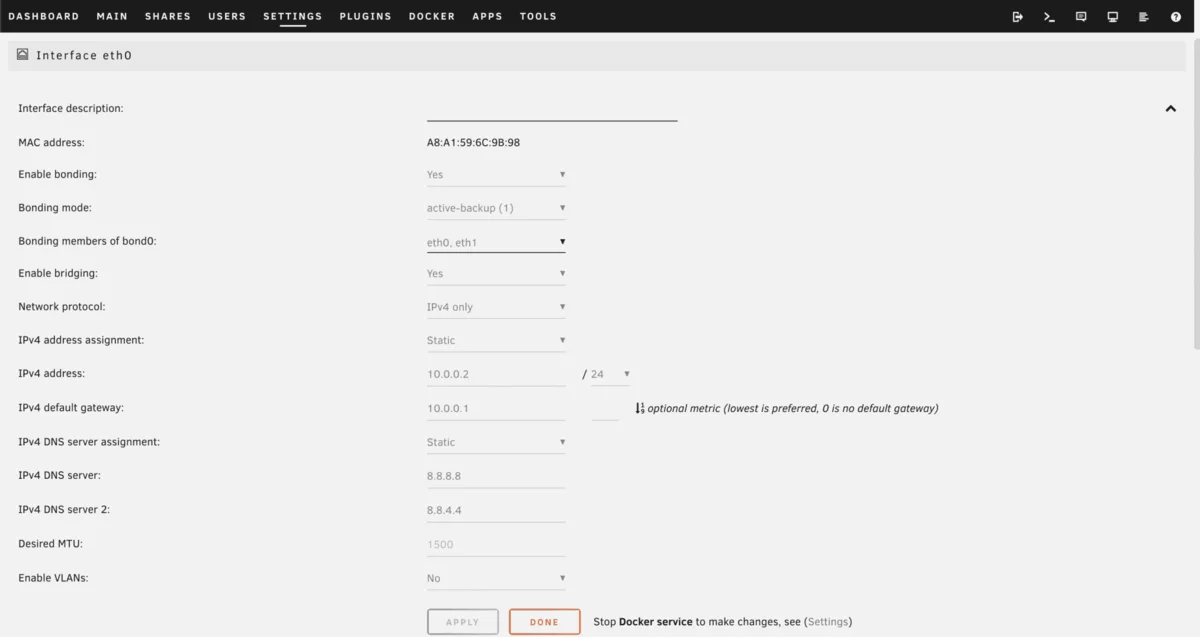
- Change to a static IP address by going under Settings > Network Settings.
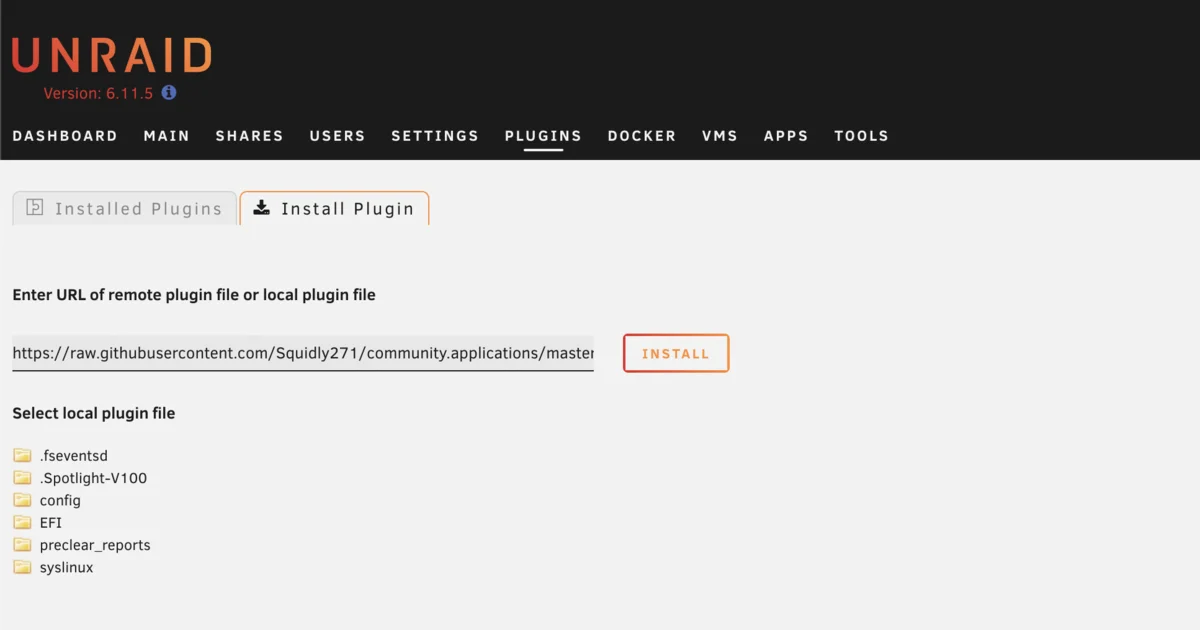
- Go to plugins tab and install community plugins manager. You can get this from Unraid forum > Plugin support > [Plug-In] Community Applications. Acquire the URL under the INSTALLATION section.
- Go back to Installed Plugins and click on the icon of Community Applications
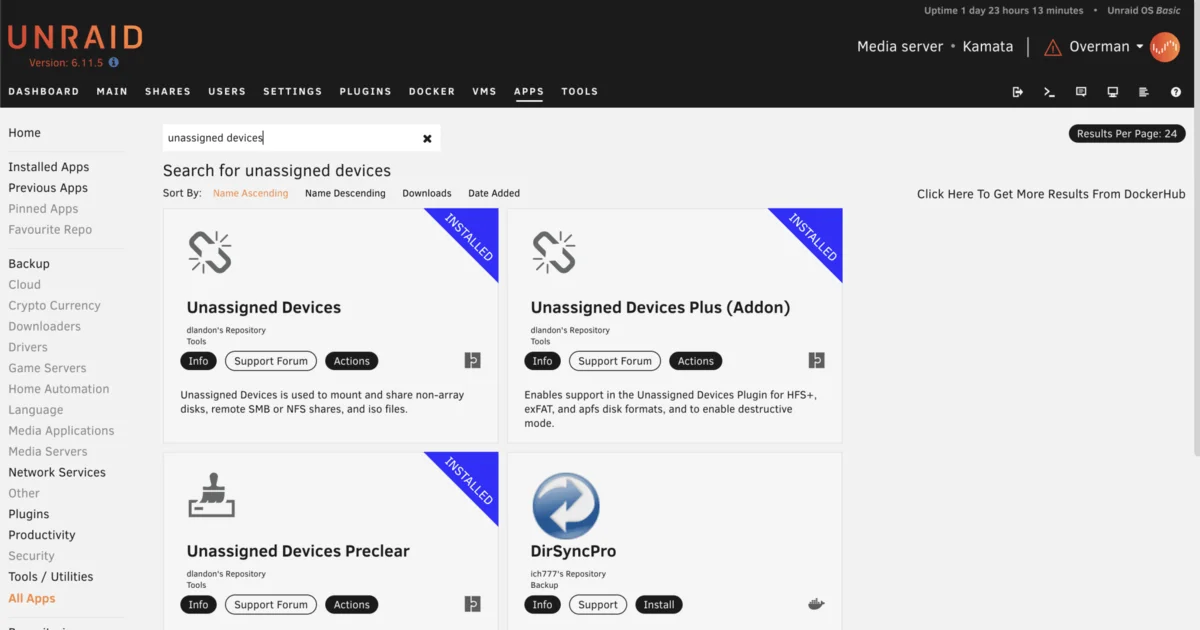
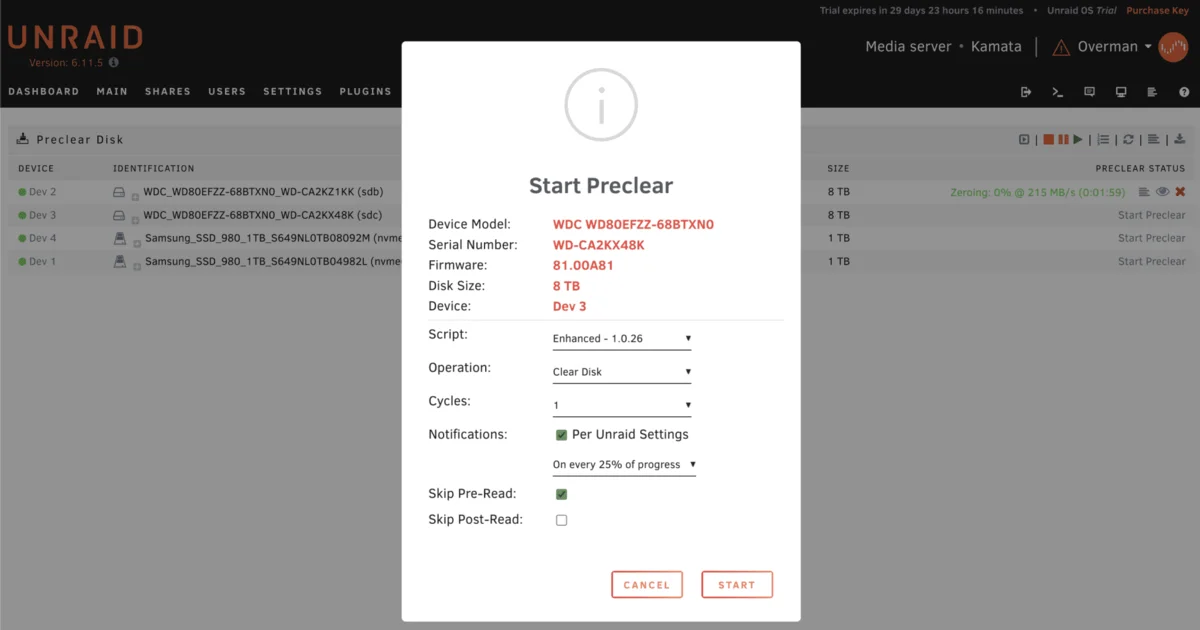
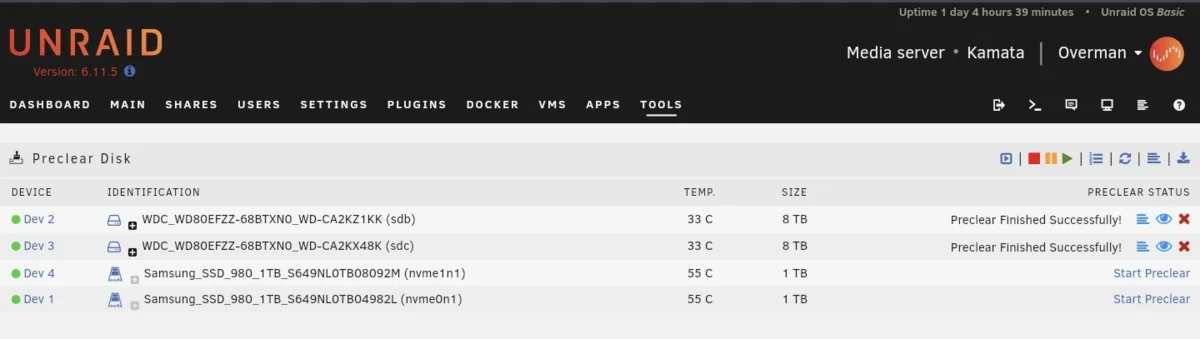
- Go to Plugins > Preclear Disk icon. Preclear only the mechanical disks and not NVMe or SSDs. Below the first one has already been started. You can leave everything else in default or you can just skip pre-read to save on time. My 8TB drives took about 13 hours to complete the zeroing process and another 13 hours to complete post-read.
- Once preclear is done, you can create the array.
Creating the array
It’s really surprising how easy it is to create the array in just a few clicks.
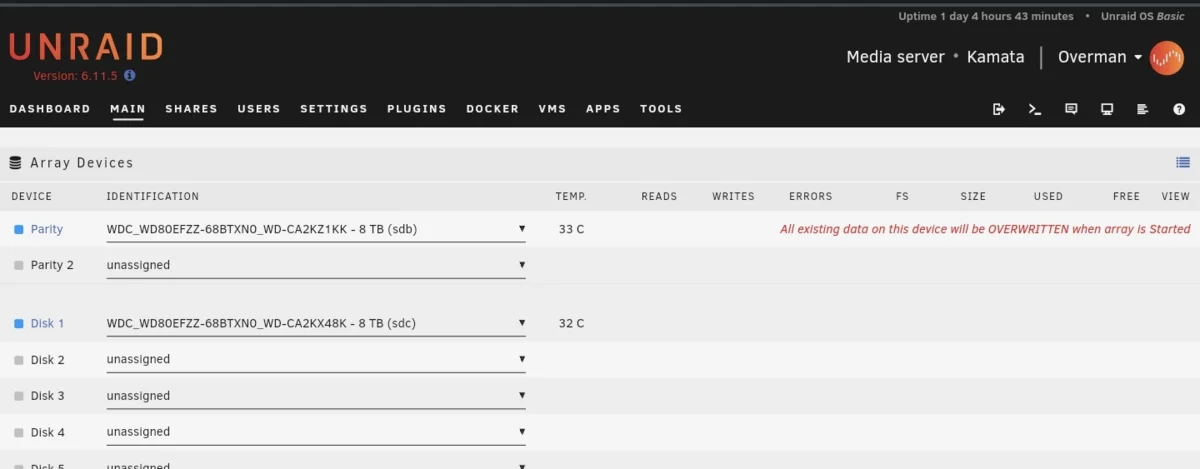
- In the Main tab, assign one of the mechanical disks as parity but do note the parity drive should always be equal or bigger than any of the other drives in your array. Assign another drive as disk 1.
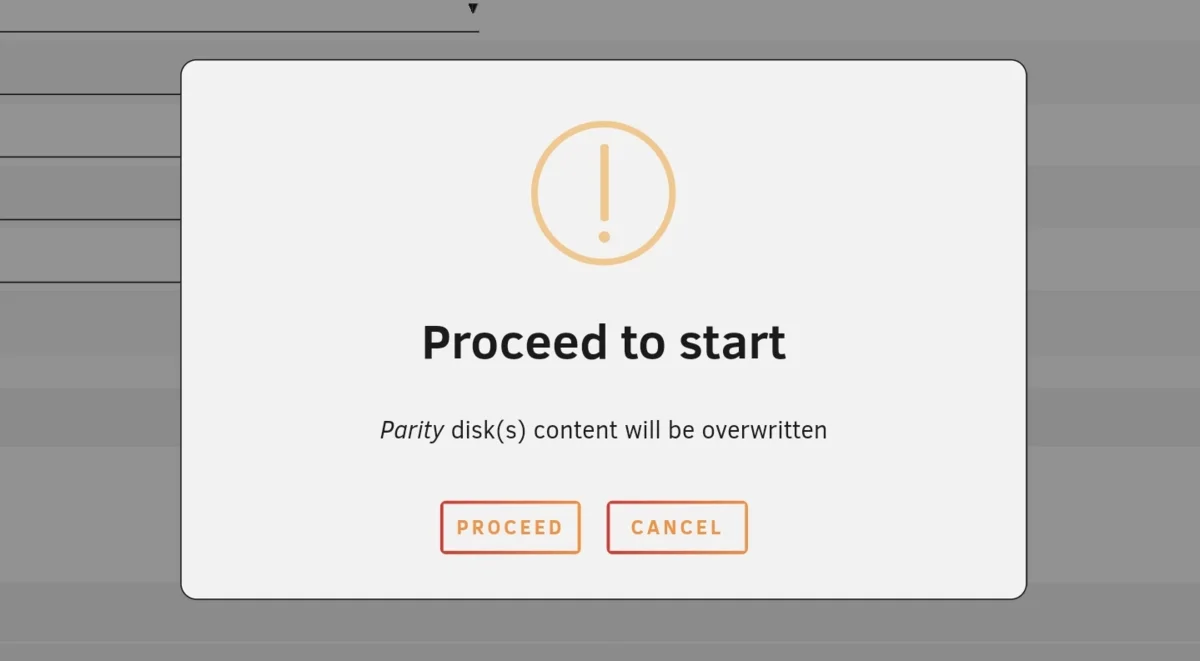
- Start the array and confirm the warning message prompt.
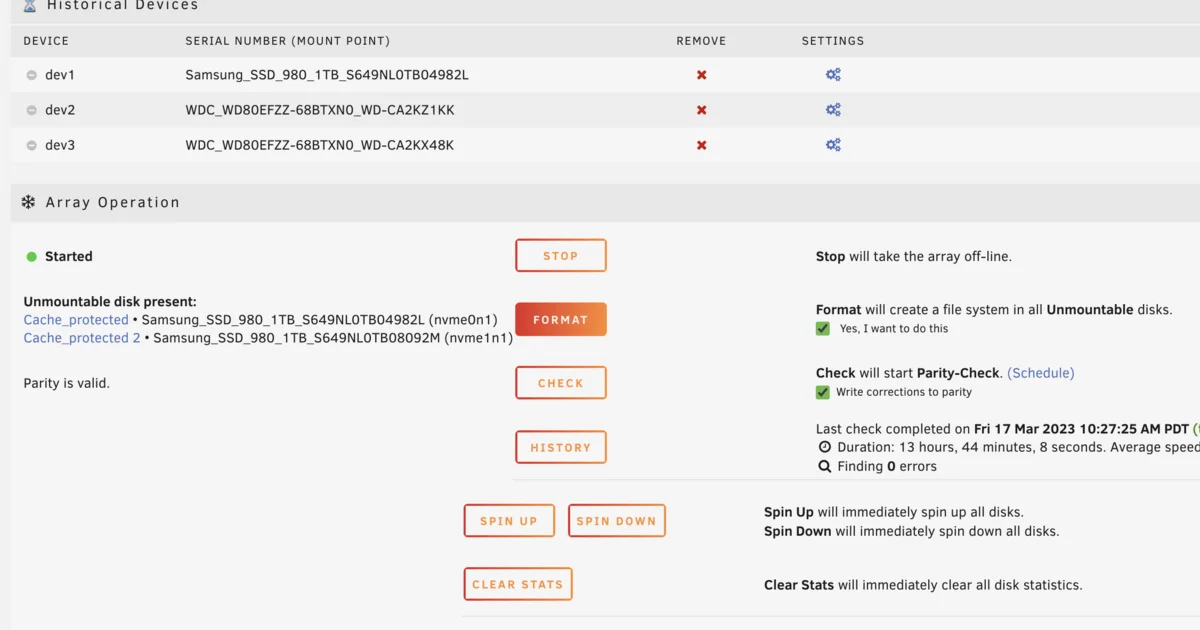
- You will see that the disks are unmountable. This is because they haven’t been formatted yet. Go to the bottom part and formal all the disks. Ensure those are only disks part of the new array.
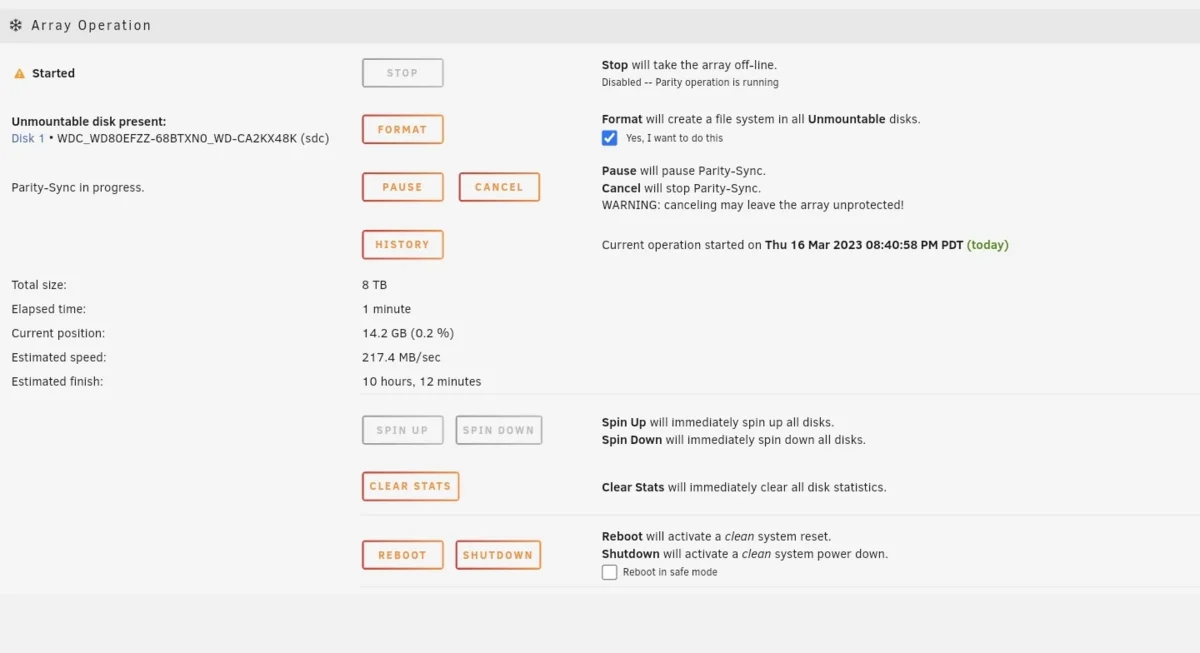
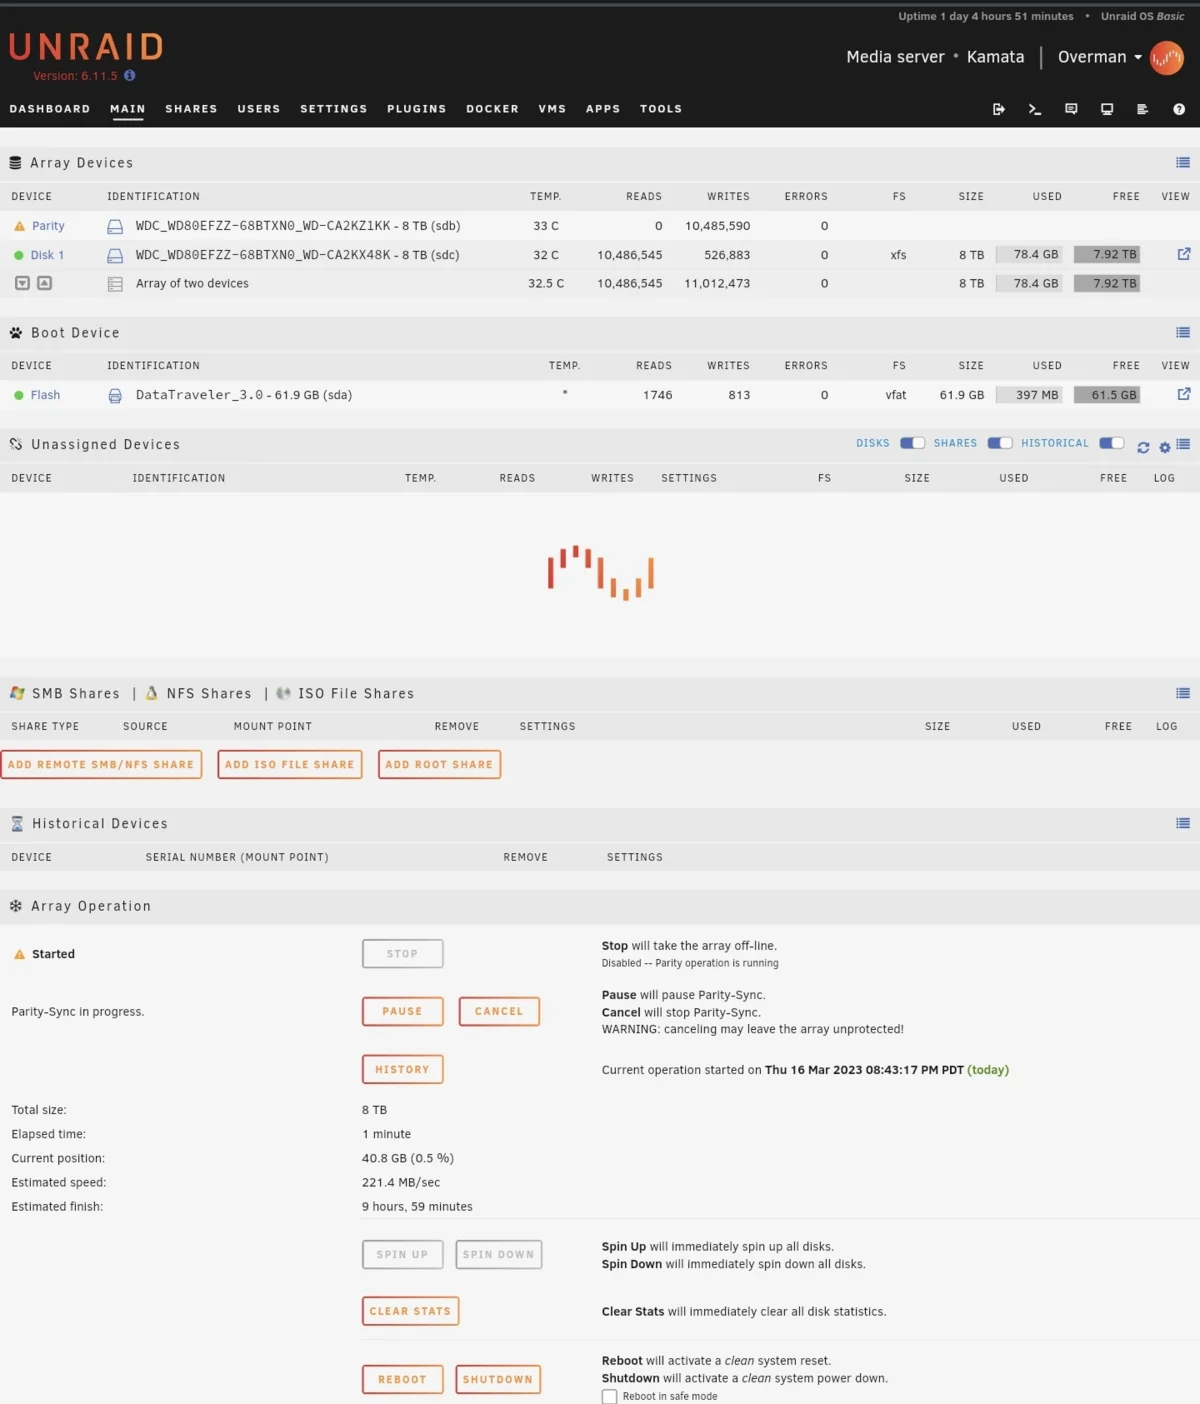
- Once formatting is complete, the parity-sync will start automatically. This will take time depending on the drive capacity. As for my case it took around another 13 hours. Do note that you don’t have to wait for parity to complete before you can start using the array. You can already upload files at this point but you will not have redundancy not unless parity is complete.

- When parity is completed you will see a green dot on the left side of device name. You can also scroll down and you should see a text showing parity is valid. At this point anything you upload into the disk will have redundancy. Just remember that parity needs to be calculated every time you modify something in the disk.
Creating a cache pool
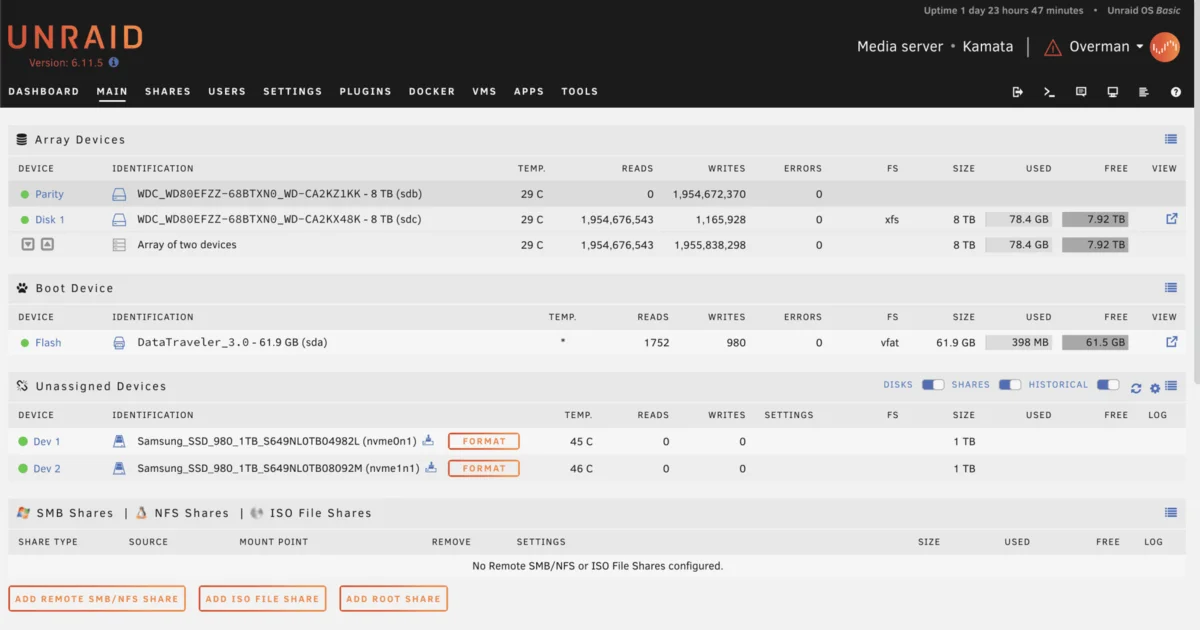
Now that you have the array running with parity-sync complete, you can start configuration of the cache pool. Here you will see that I still have my NVMe drives under unassigned devices. I plan have them running on RAID1 as well – same as the array.
- Stop the array so you can add a cache pool. I named it cache_protected to remind me this cache has redundancy (any name will do). Click on Add Pool and assign 2 slots. Select the one drive for each of the slot.
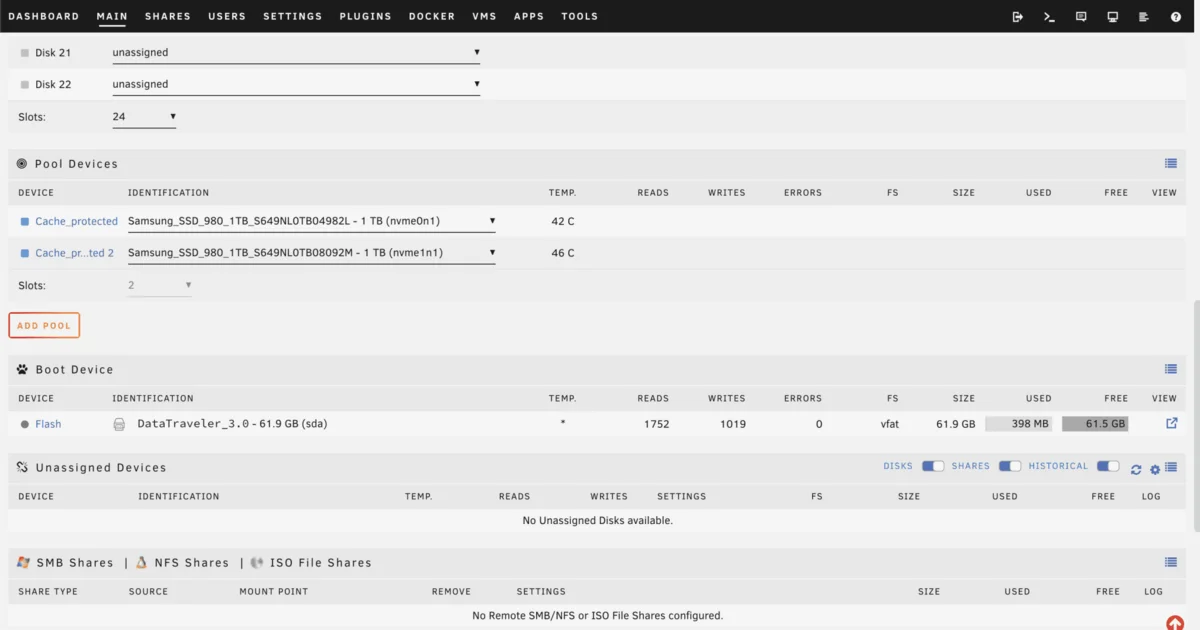
- You can click on the name of the cache pool to see the settings. I kept mine on default. Start the array. It will show the the disks again are unmountable so you just have to format them the same way it was done for array disks.
- Cache pool creation will not take so long. When that’s done the second device under Pool Devices will have a text saying that it is part of a pool.

This is the final step to running your array with a cache pool. If you want to move files into any of the shares you can use a docker application called Krusader. I just tried this today but haven’t had more time to explore so I am parking this for now.