In my previous post about my DNS, I mentioned there that I migrated Pihole from Unraid to my Proxmox hosting my router. But in fact, on top of that, I left an instance of Pihole on Unraid running inside a LXC container. Together with that I also configured keepalived for high availability. Hosting the DNS on the same hypervisor as my router should already be sufficient (I’d say my OPNsense VM is more likely to face issues than a LXC container) but I still wanted to try out an use case for keepalived.
Install Gravity Sync
Keep in mind that the following IP addresses were used for the setup:
| IP address | Hostname | Host |
|---|---|---|
| 10.0.0.80 | pihole-ha-ip | - |
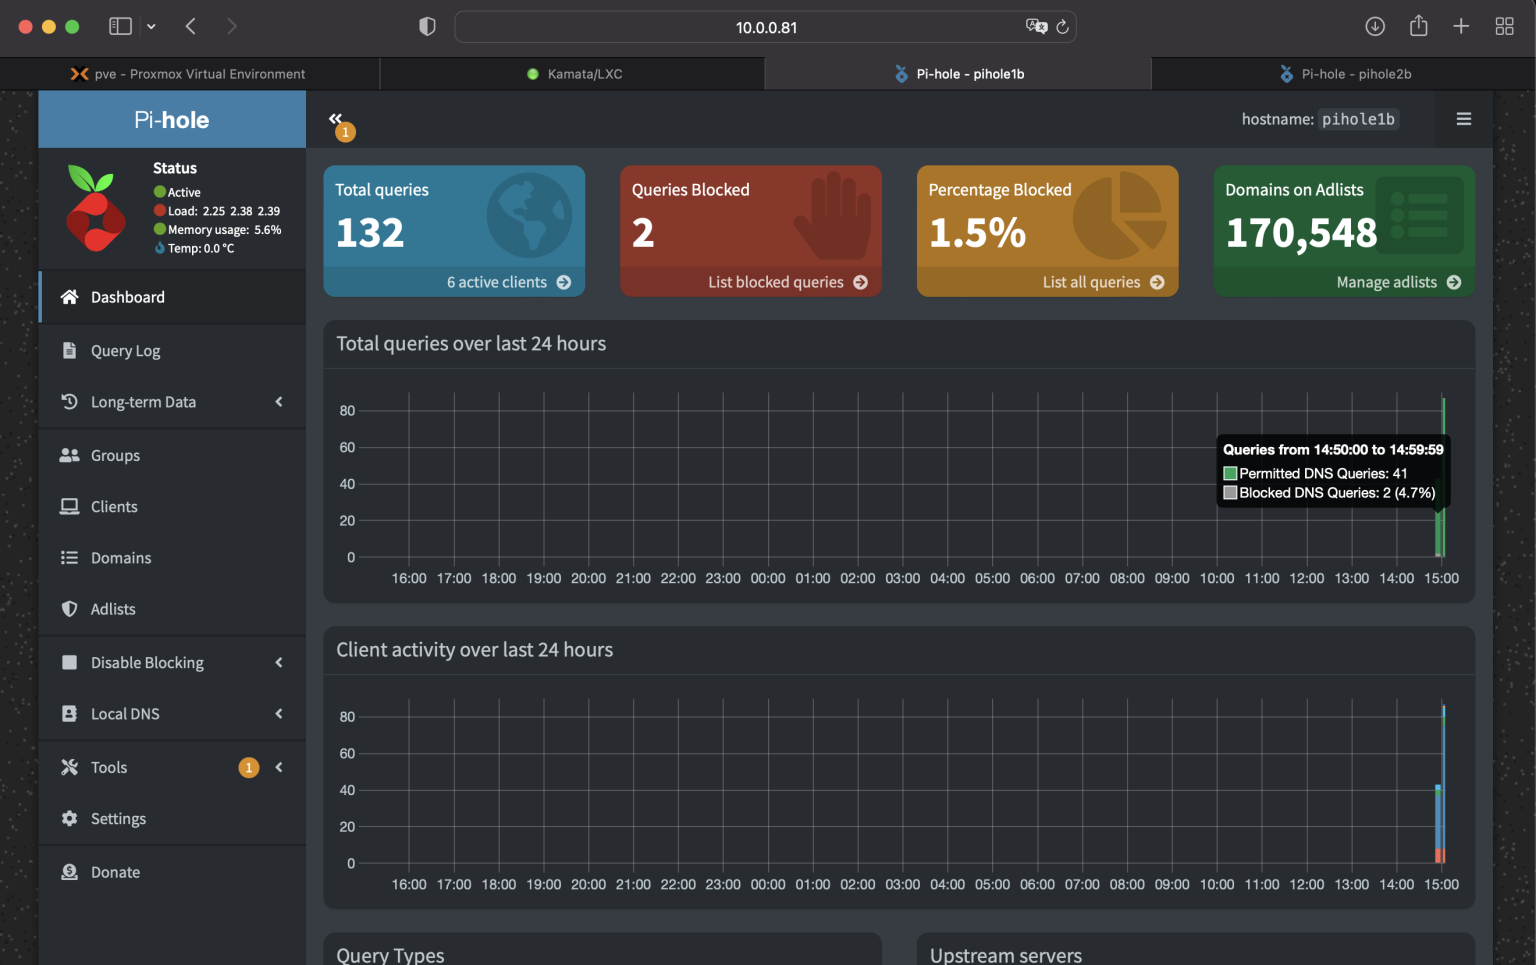
| 10.0.0.81 | pihole1b | Proxmox LXC |
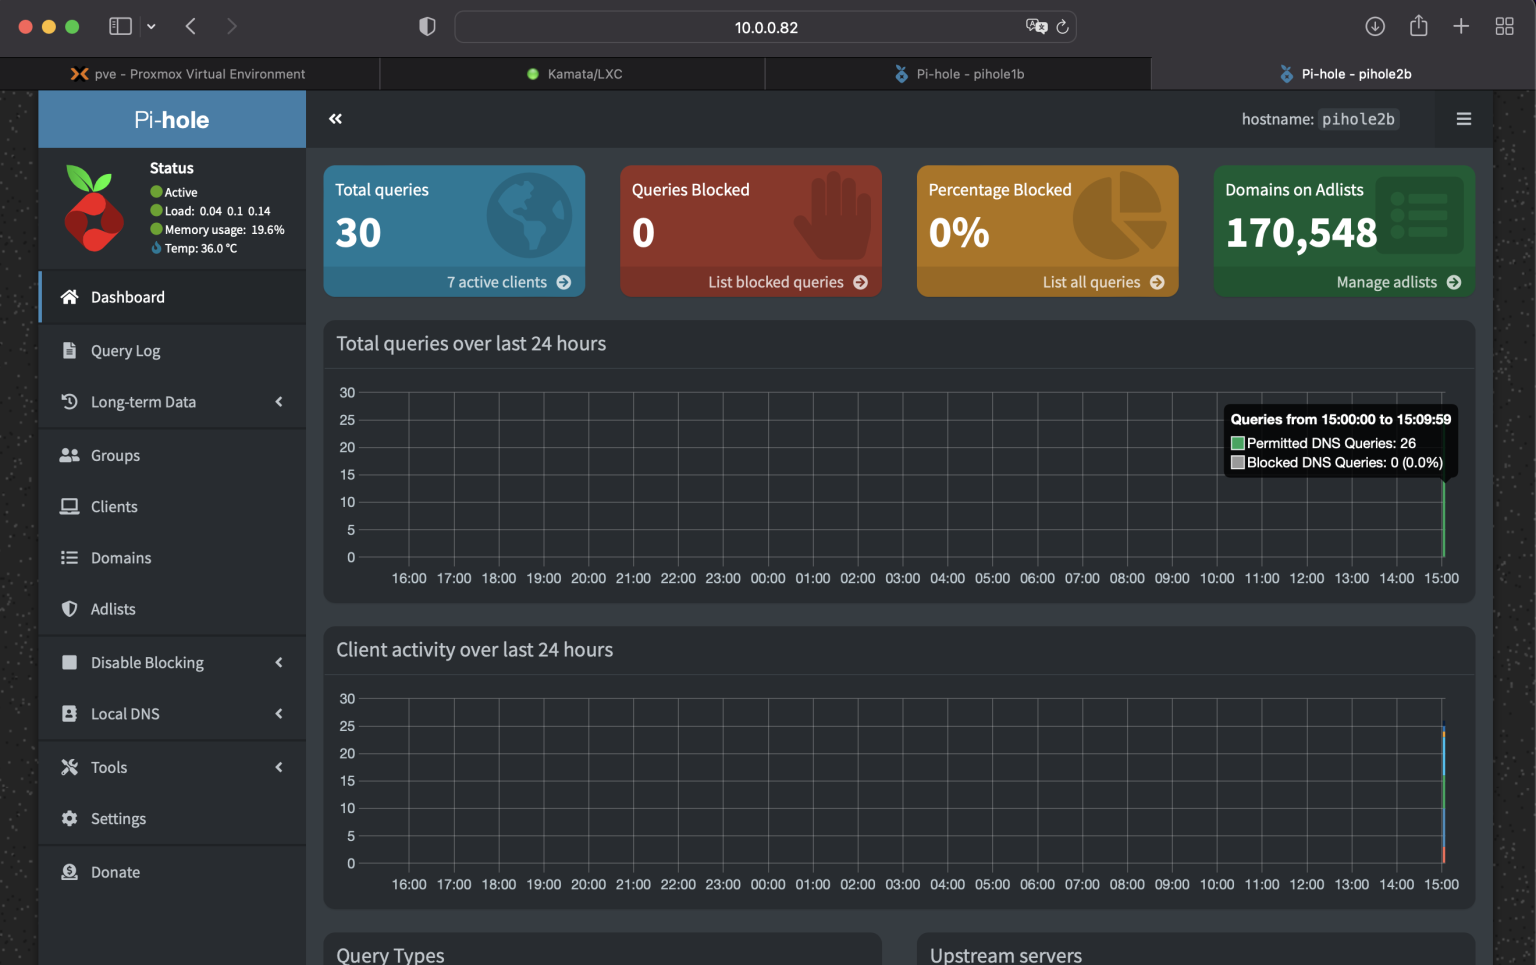
| 10.0.0.81 | pihole2b | Unraid LXC |

I already had one pihole instance running on 10.0.0.80. I just had to shut this down to test my new HA-configured pihole.
To keep the configuration of both piholes in sync, we can install gravity-sync. I faced permission issues when I ran this as root. Make sure you have PermitRootLogin yes set in the /etc/ssh/sshd_config file. Then only execute below installation script.
curl -sSL https://raw.githubusercontent.com/vmstan/gs-install/main/gs-install.sh | bash
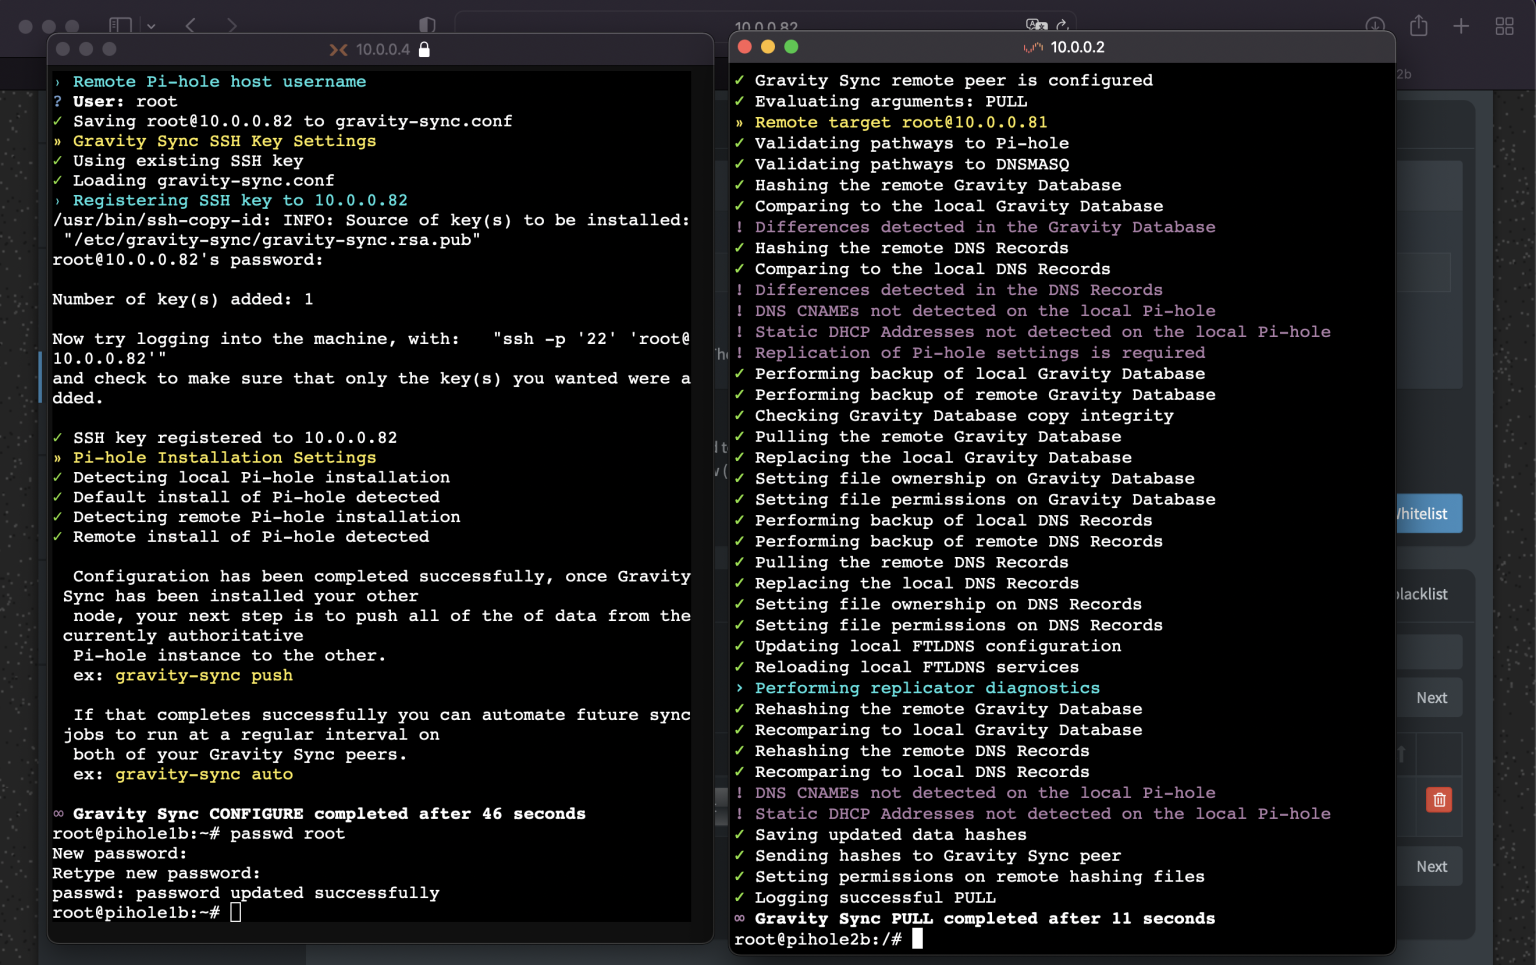
The installation procedure is straightforward. Just input the required information and wait for it to complete. You can then conduct a quick test of pulling or pushing configuration.
Create a new domain in pihole1 and ensure it’s not reflected on pihole2.
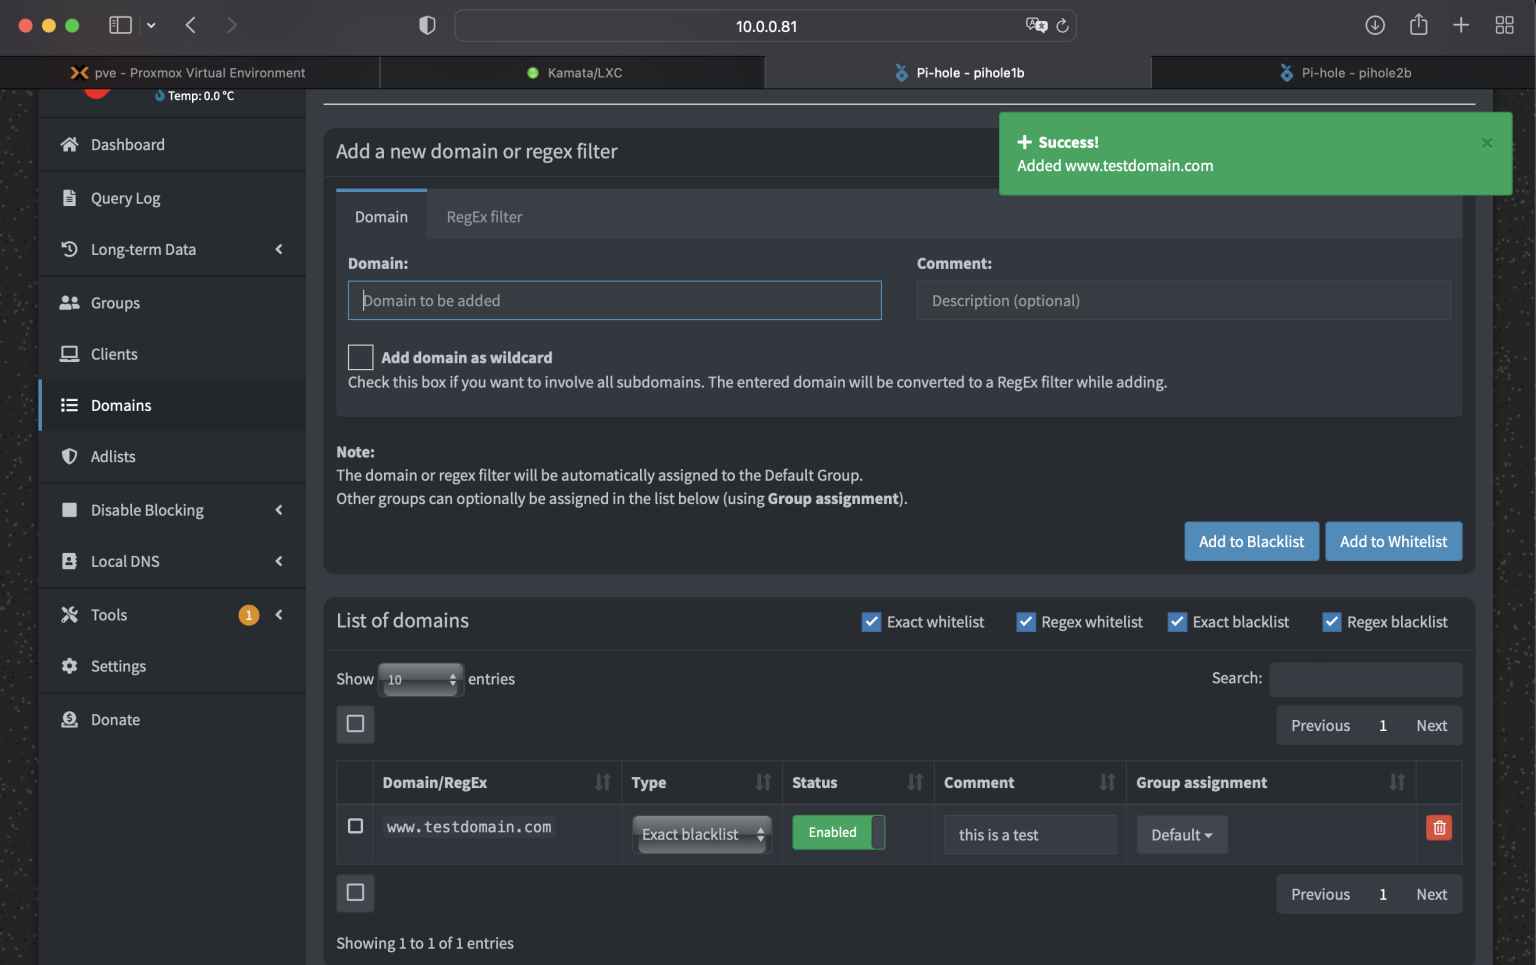
You can then execute gravity-sync compare to see if there is any configuration mismatch.
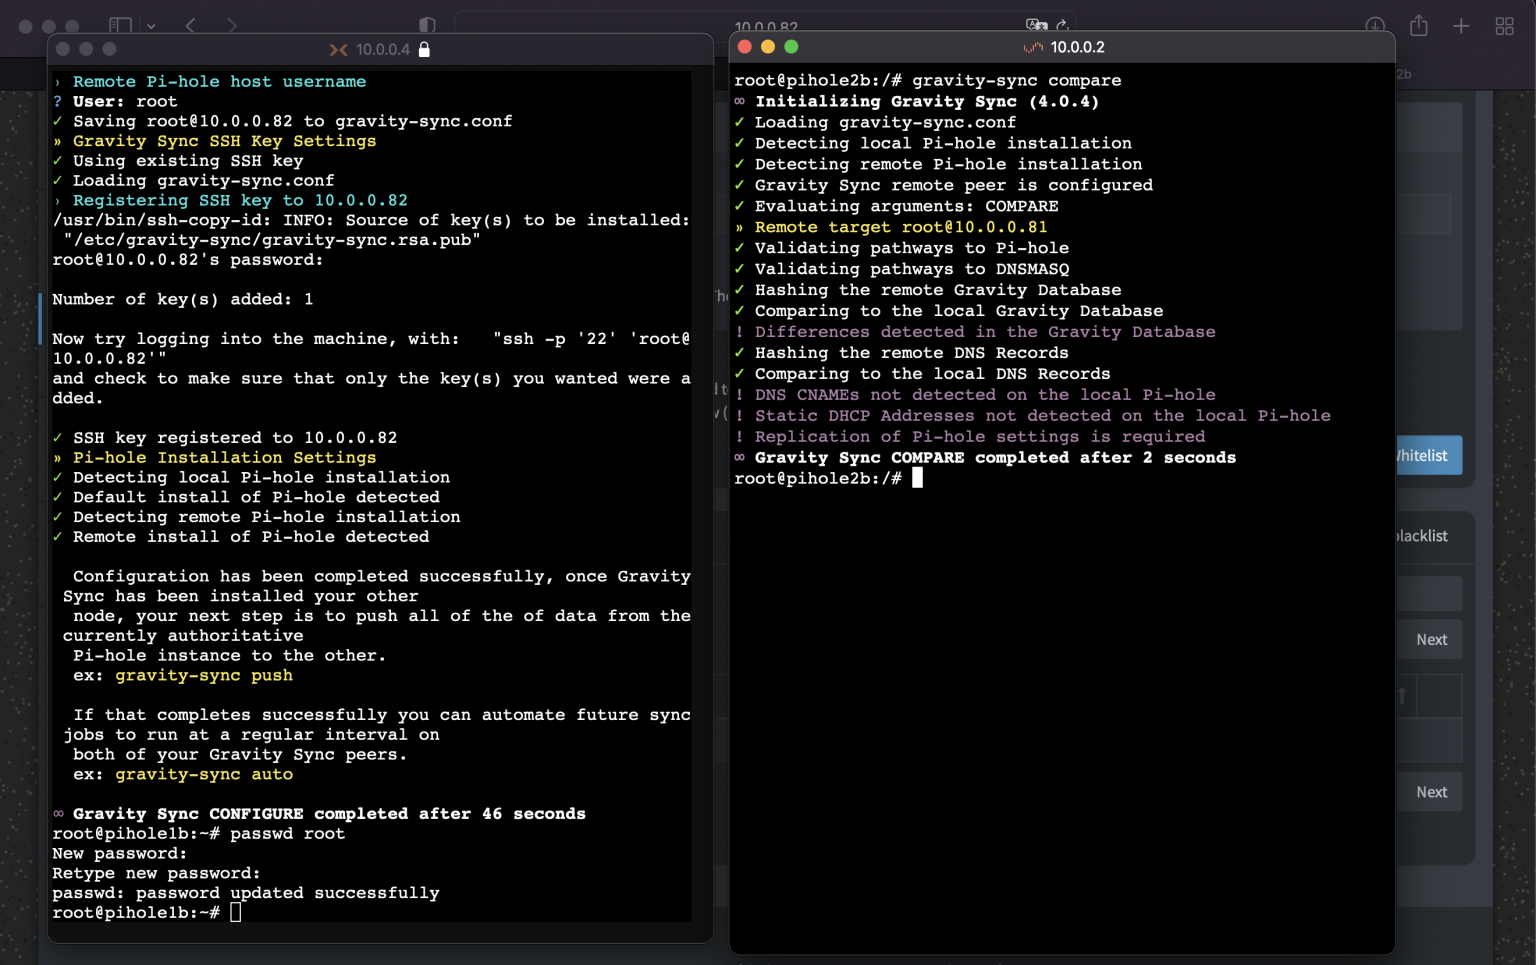
Then you can execute gravity-sync pull from the pihole2 and check if the delta configuration is reflected.
Automate
Execute gravity-sync auto on both pihole instances.
By default pihole should sync after 5 mins. For my setup I will set it hourly.
gravity-sync auto hour
Install keepalived
I found this tutorial on reddit link here shared by Panja0 on how to make use of keepalived by monitoring the pihole-FTL service with a simple bash script. I wanted to try and do it from scratch to add to my knowledge but I have decided to park this for now and test out this tutorial. For those interested, the keepalived documentation can be found here.
Install libipset13 and keepalived.
yum install -y libipset13 keepalived
Create a new scripts directory in /etc.
mkdir /etc/scripts
Create a new file and copy-paste the content from https://pastebin.com/npw6tcuk.
Add permision to execute the file:
chmod u+x /etc/scripts/chk_ftl
You need to edit keepalived.conf on both pihole instances. This file is located in /etc/keepalived/. The config files can be downloaded in the following links:
keealived.conf for master
keealived.conf for master
Modify the following fields according to your IP configuration. The auth_pass field is a password that should be match between both configuration files. unicast_src_ip unicast_peer auth_pass virtual_ipaddress
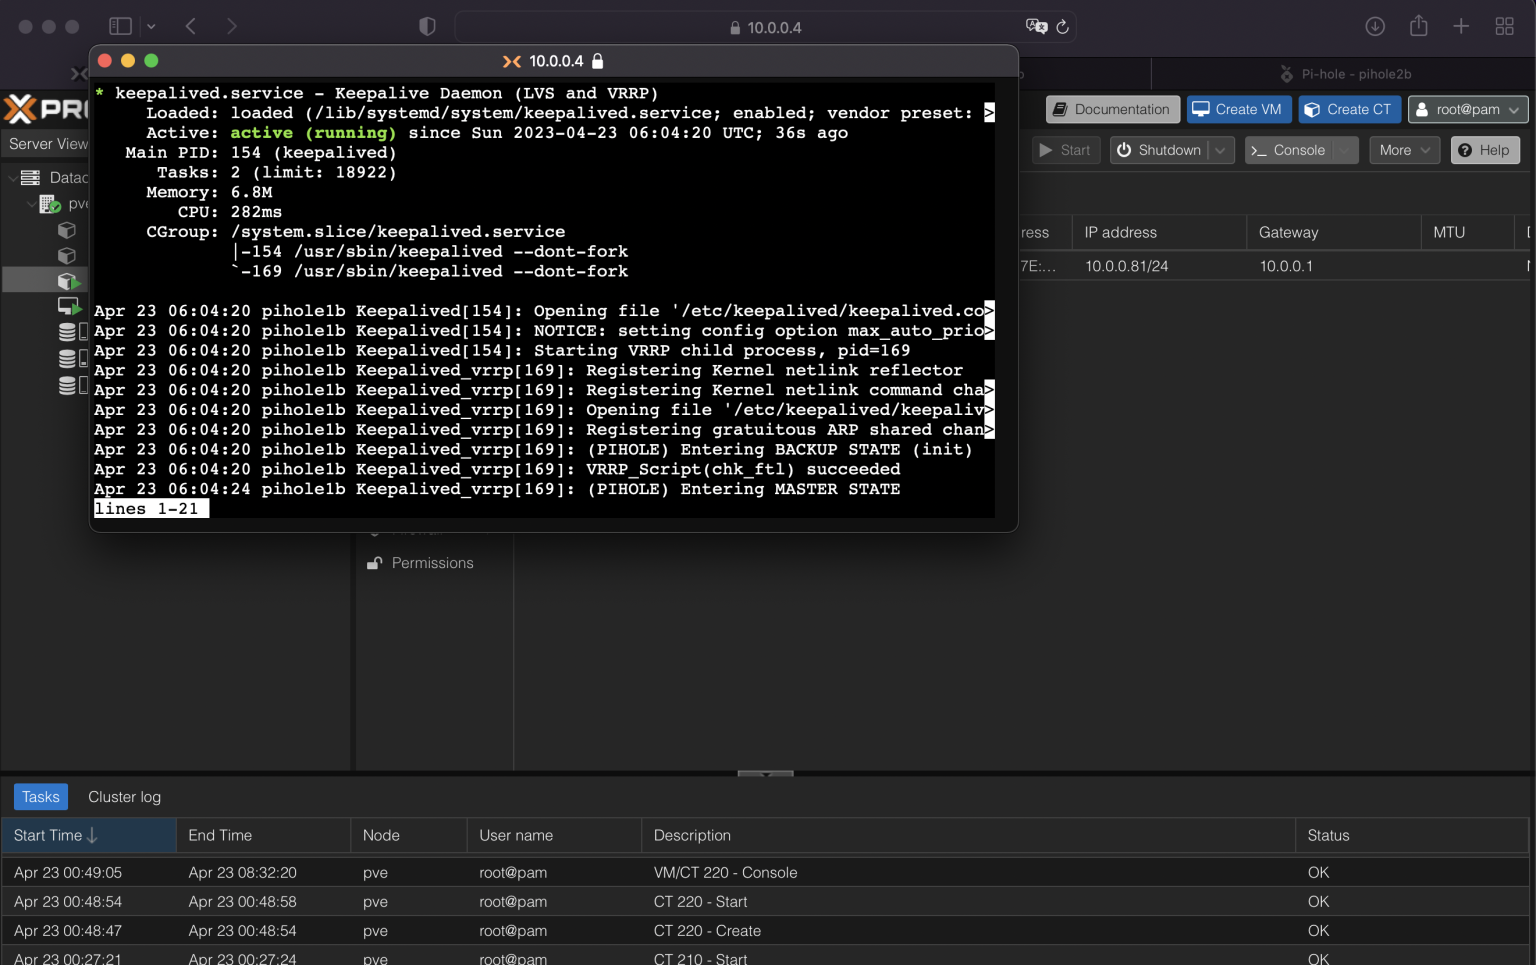
Restart the keepalived service and now the IP should be assigned to your primary pihole!
sudo systemctl restart keepalived
You should now be able to see DNS queries coming in.
Testing for auto fail-over
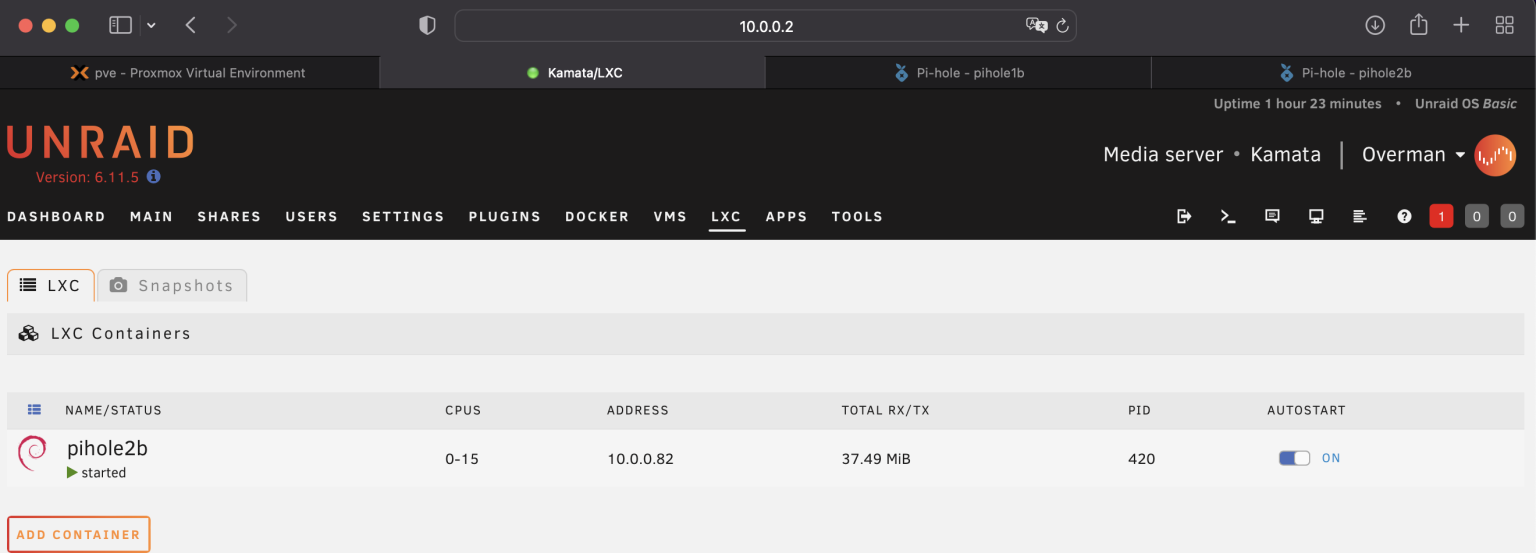
Shutdown the other pihole. Now pihole2b started accepting traffic
Let’s see if it will preempt. Poweron other pihole and check the keepalived. You can also check 10.0.0.80/admin (virtual ip) and see if it’s routed to the primary .