Unraid is a hypervisor by itself. So aside from just running docker containers, you can also spawn VMs. I wanted to install Ubuntu Server 22.04 so I could run the GNS3 remote server on it.
Ubuntu Server Installation
You can download the Ubuntu iso image from this page. It’s either you download to your local machine or using Unraid with the help of the CLI or some docker app.
While waiting for the download to complete. Go to Settings > VM Manager and set ‘Enable VMs’ to yes. You can also toggle the advanced view to have a more detailed look on the settings. Here you will see the directory of the iso files and the storage so be sure to have your shares properly configured.
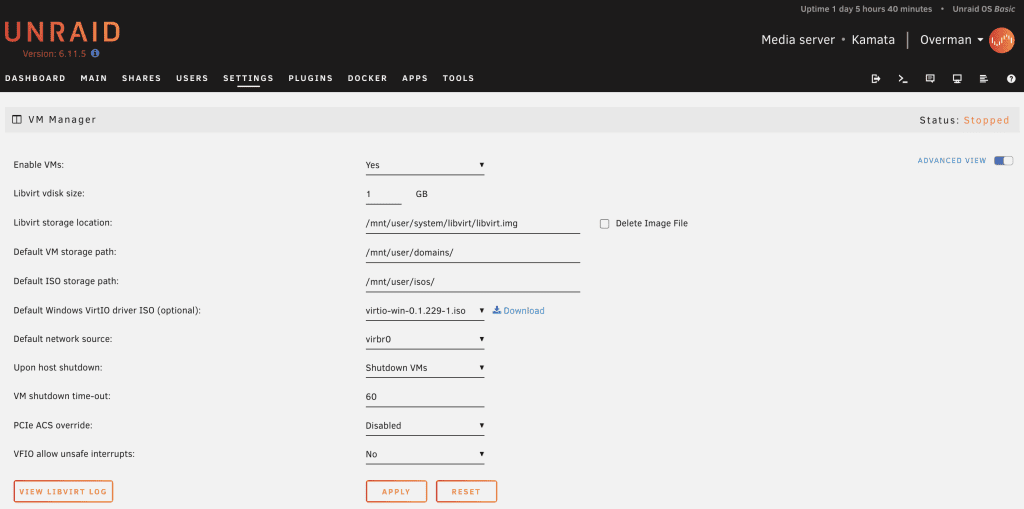
Just to give you an idea my iso directory is saved to a cache that doesn’t have redundancy. Image files that are not intended to be used any sooner can either be deleted or transferred to an archive directory on your main array.

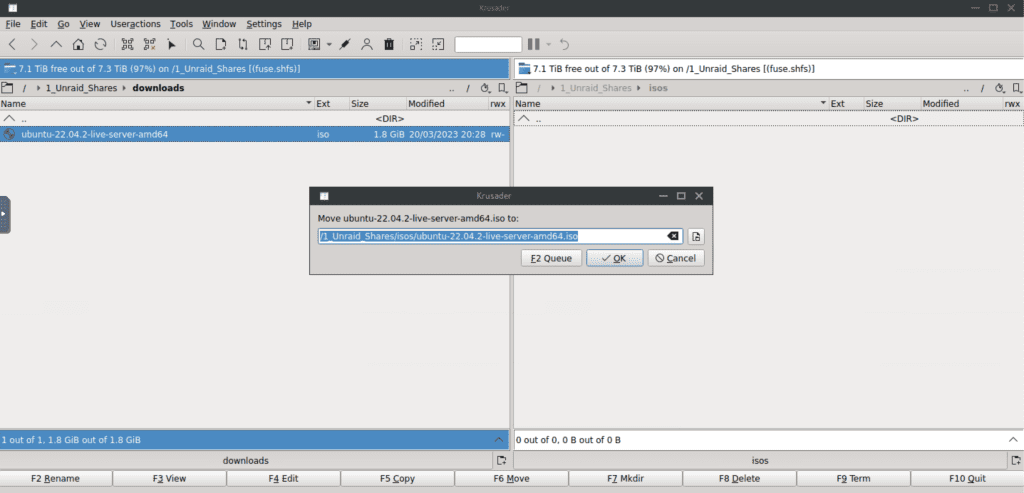
It is important to transfer the iso file to the iso share or else you won’t be able to select this later on.
Go to VMs > Add VM > Ubuntu. Select the CPU cores and memory as well as the ISO file.
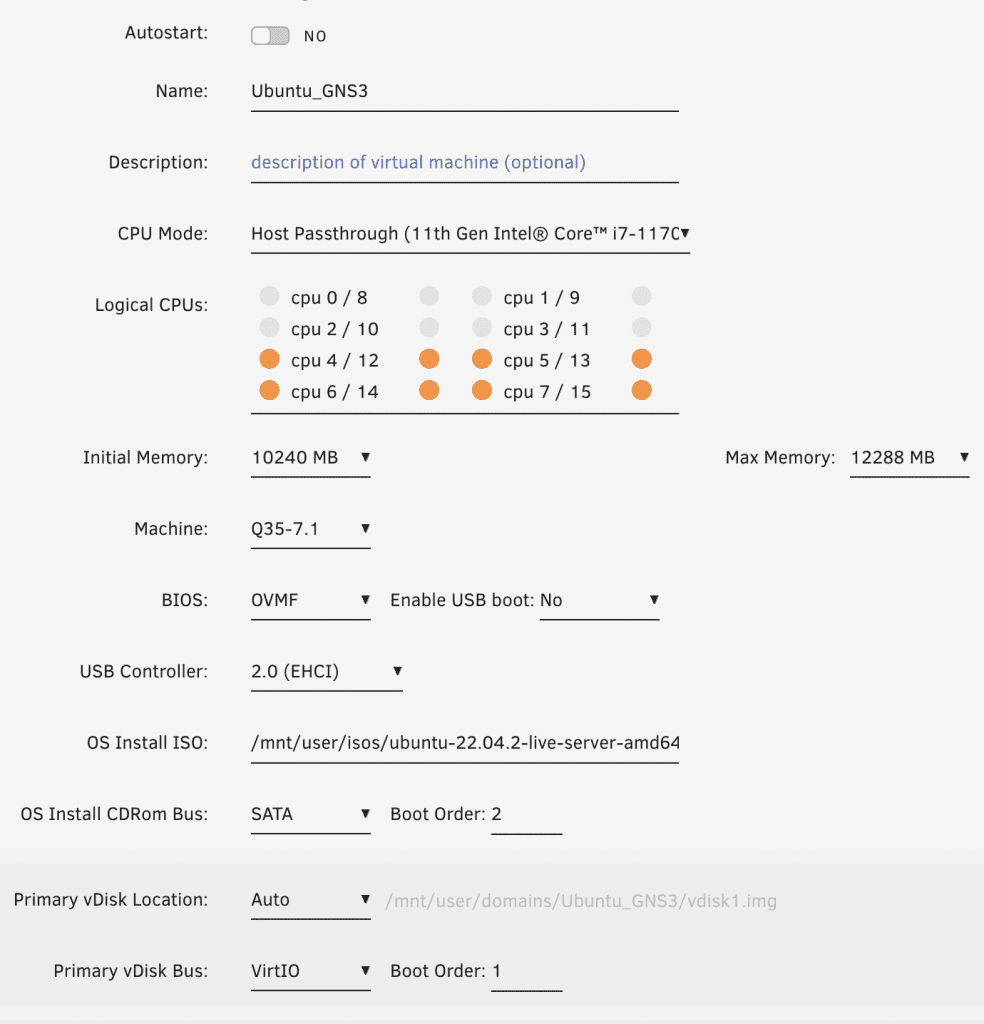
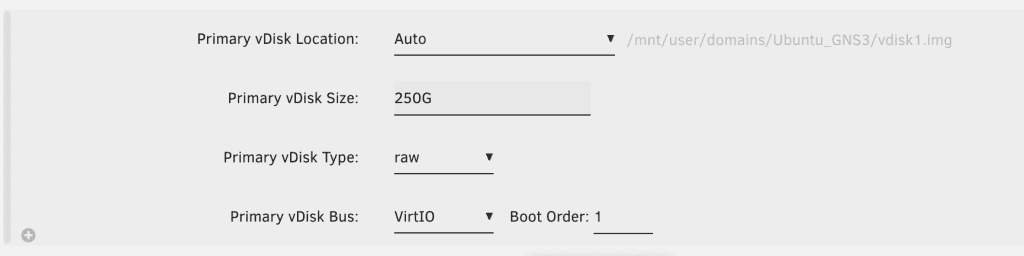
Assign the disk size.
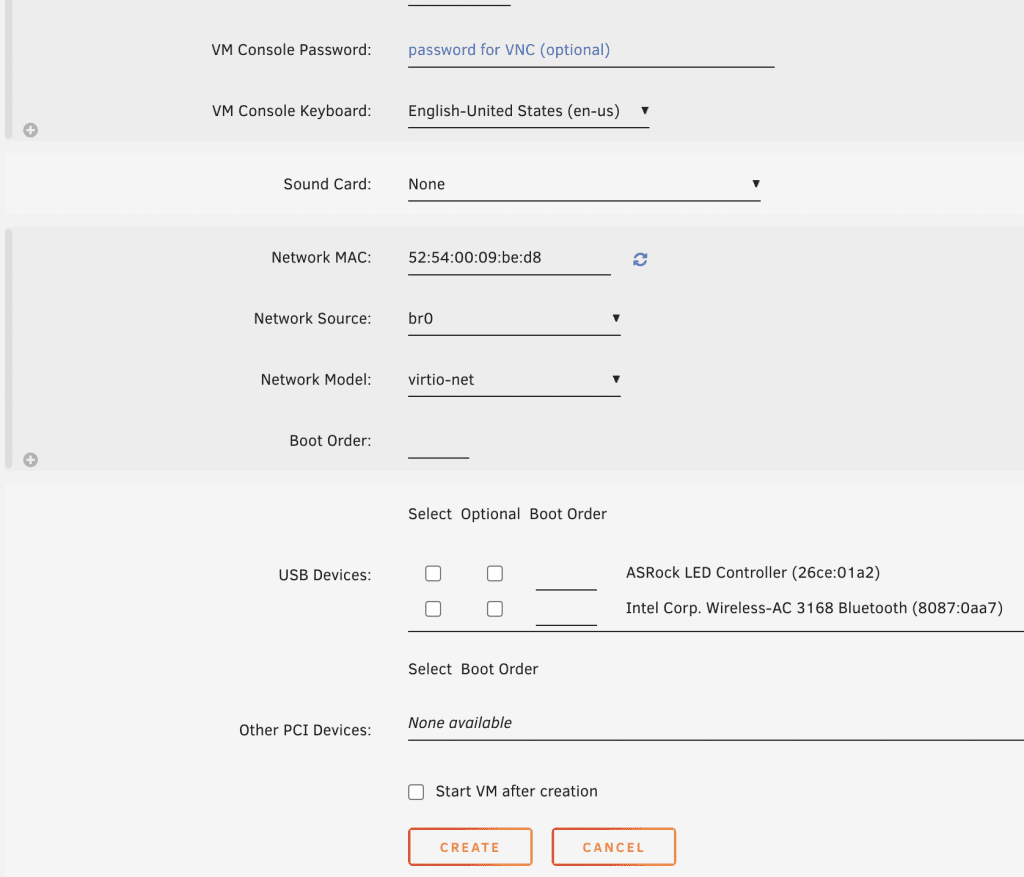
For network model ensure that br0 is selected. For VM console port Unraid starts with the default port of VNC but just to avoid any conflict later on when you run appliances on GNS3 just choose a different port range from 5900. Uncheck ‘Start VM after creation’. Everything else can be kept in default. Create the VM.
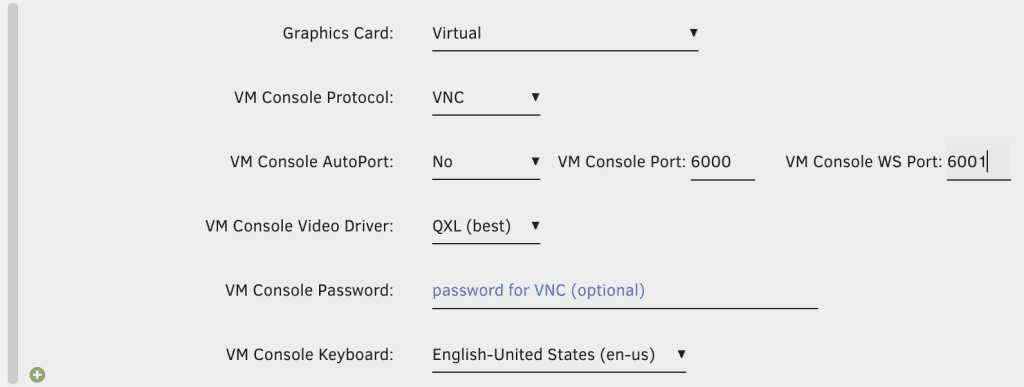
Note network-model should be set to virtio-net to avoid any networking issues with the docker containers.
Go back and edit this VM and toggle from form to XML view on the upper right hand side. To enable nested virtualization insert the following line in the

<feature policy='require' name='vmx'/>
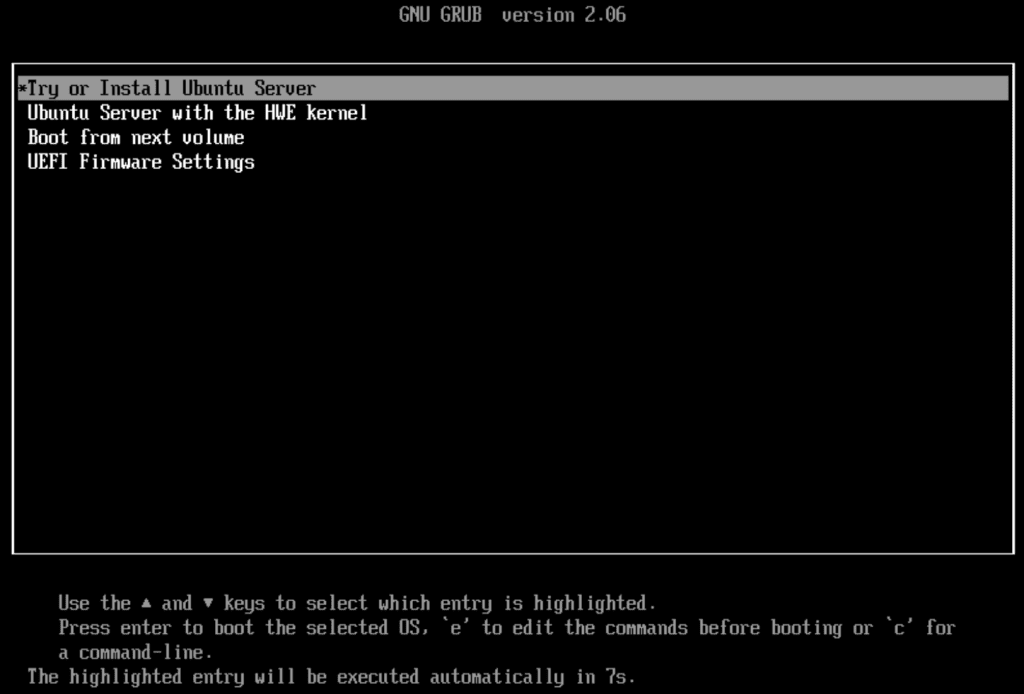
Update, start the VM, and open the console. Install the OS how you normally do it.
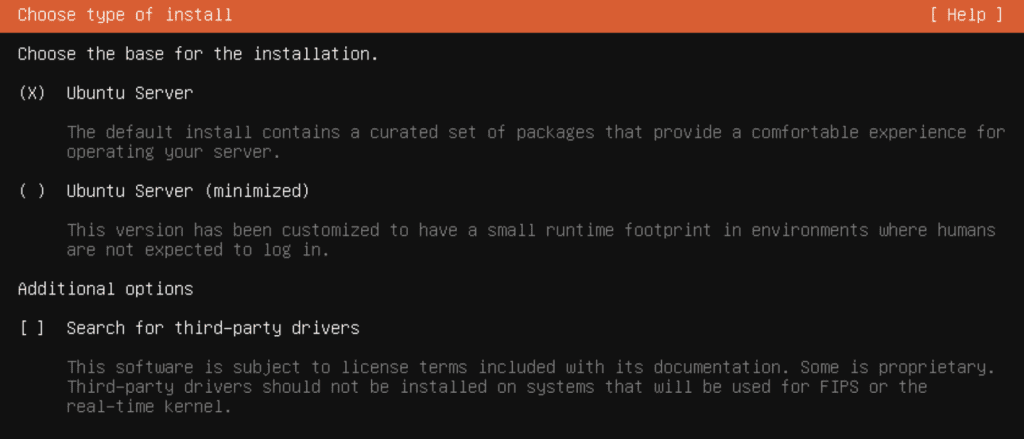
As for me I always choose Ubuntu Server (not minimized) everytime to avoid any package dependencies later on.
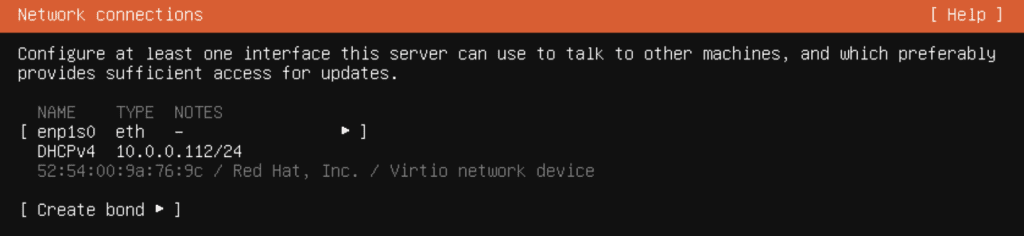
Be sure the VM is assigned a DHCP IP when you get to the network settings or assign a static one if you wish. I always prefer the latter.
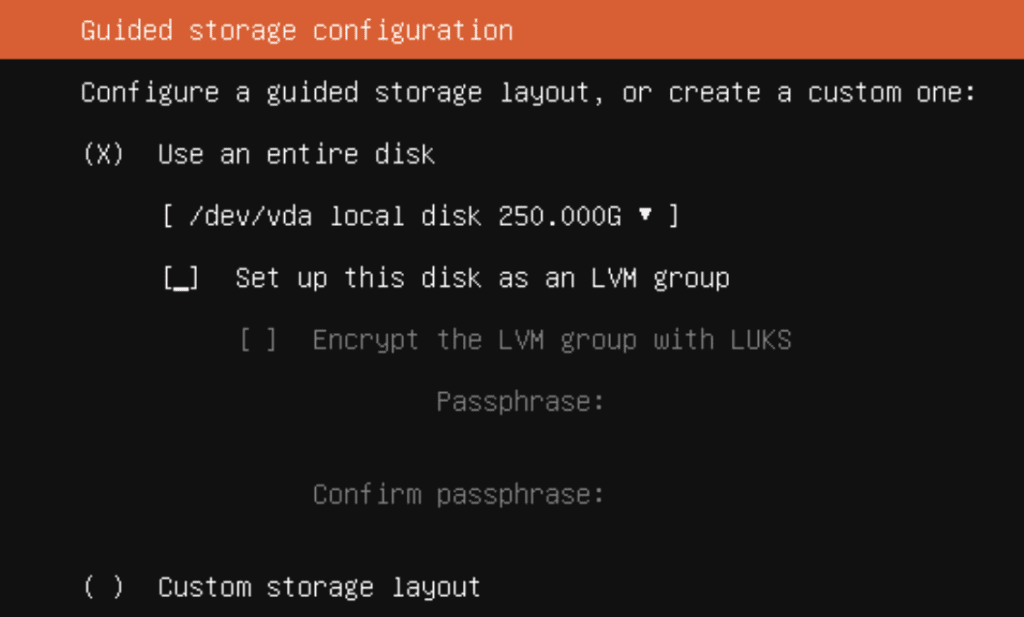
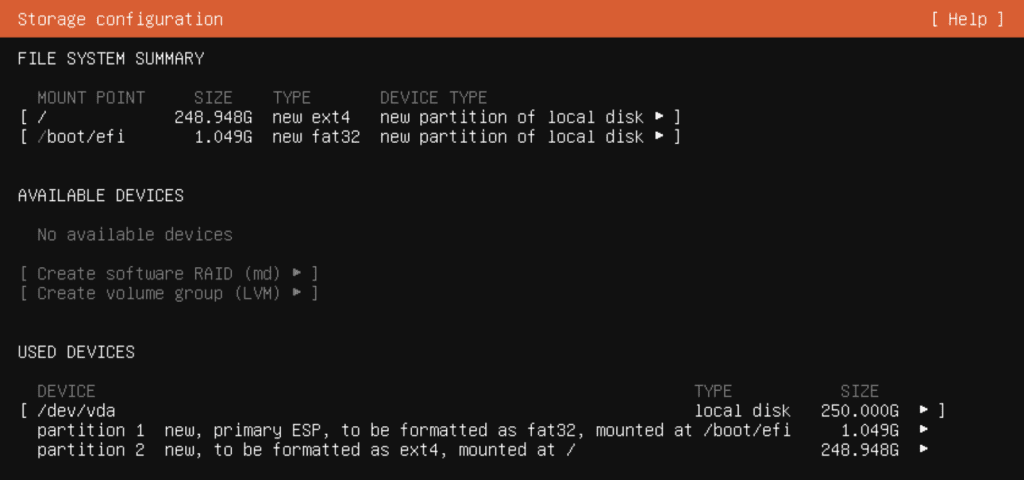
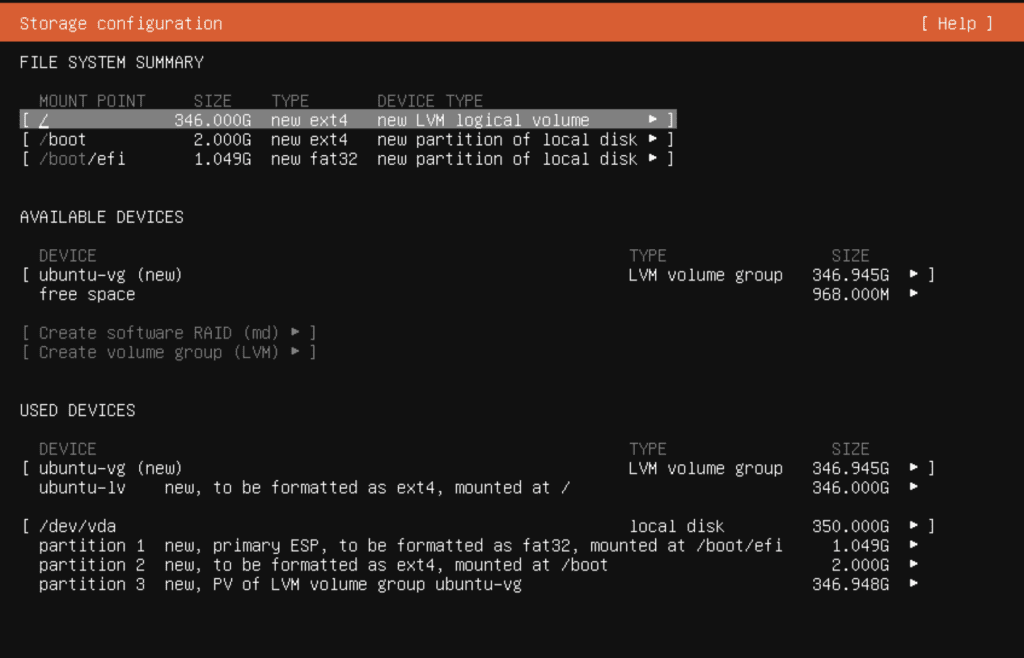
Modify disk to utilize all. There really is no use case to use LVM if you are just running GNS3 server.
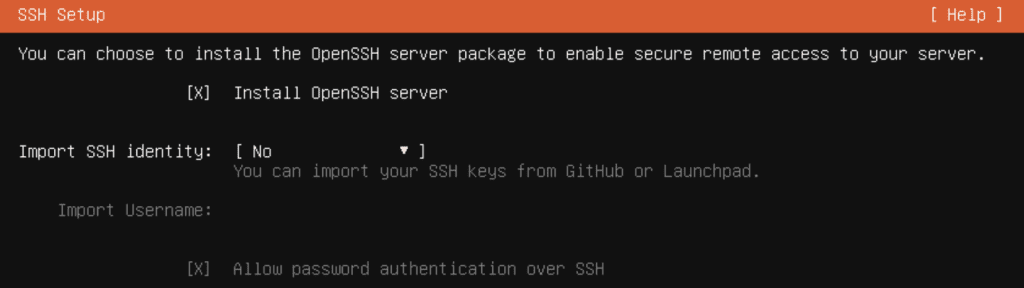
Also ensure OpenSSH to be installed!
Reboot the server after installation and check your IP within the VNC console. Try to login via ssh.
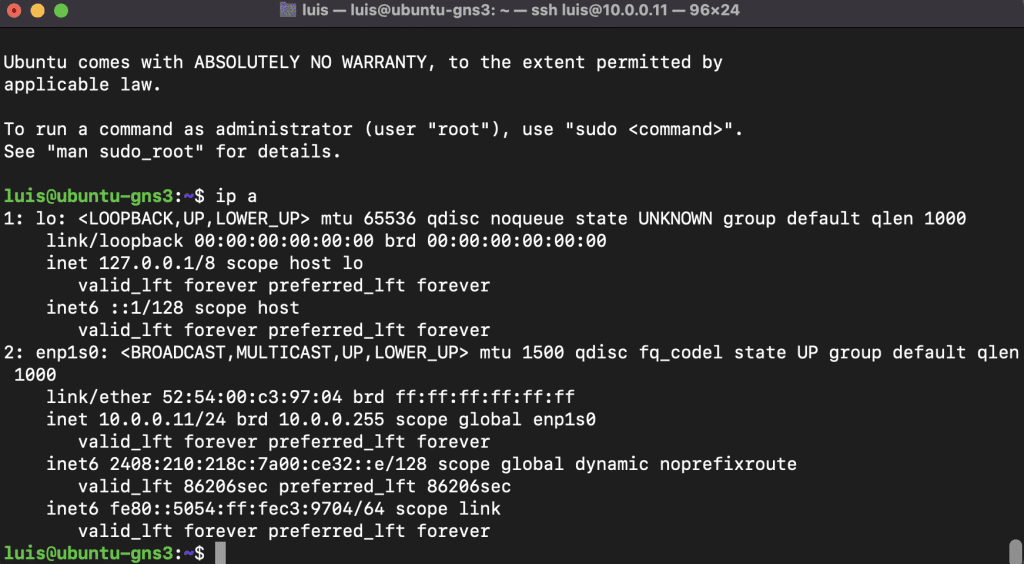
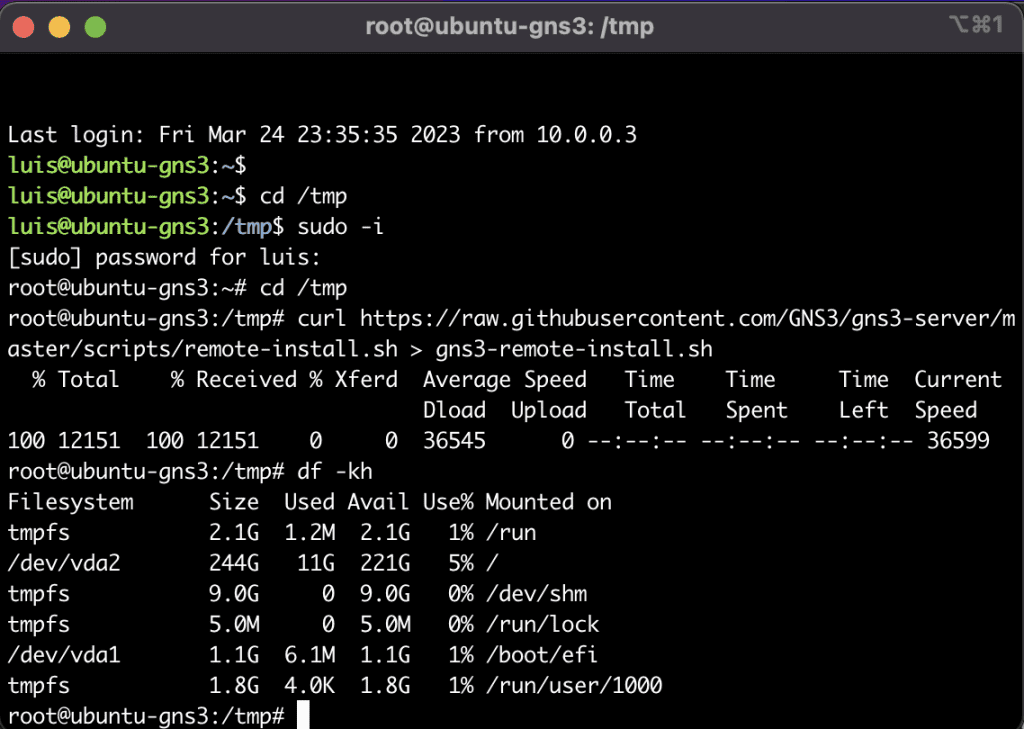
Perform basic checks especially the disk space! The root directory should be assigned the biggest chunk of the disk size.
Install GNS3 Server
I am sharing the link to the official documentation here for reference. It says to execute the following commands as root:
sudo -i
cd /tmp
curl https://raw.githubusercontent.com/GNS3/gns3-server/master/scripts/remote-install.sh > gns3-remote-install.sh
bash gns3-remote-install.sh --with-openvpn --with-iou --with-i386-repository
Now if we check the status of the gns3 services. It would always show it’s activating
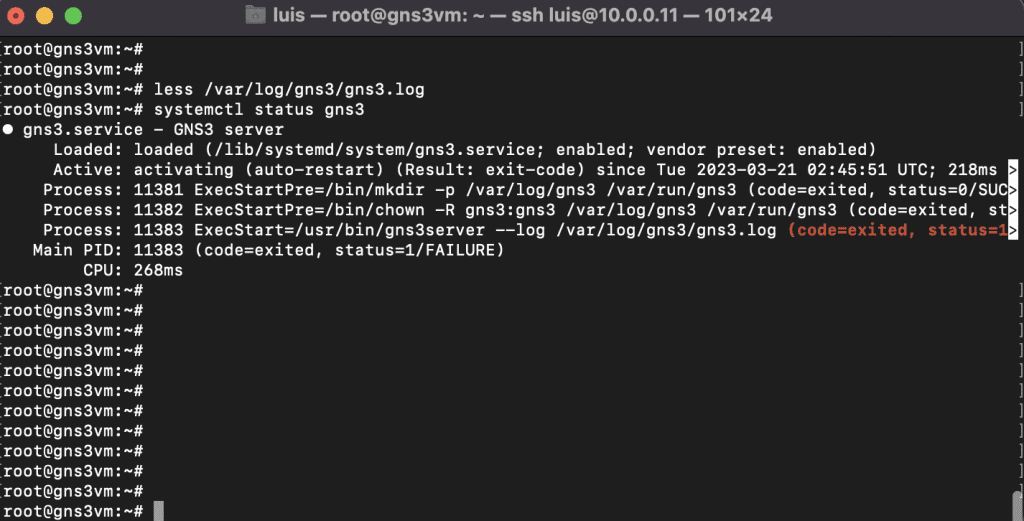
If you check the log file mentioned there you would see the following
CRITICAL web_server.py:88 Could not start the server: [Errno 99] error while attempting to bind on address (‘172.16.253.1’, 3080): cannot assign requested address
Let’s check the configuration file getting loaded and see if we can see anything there.
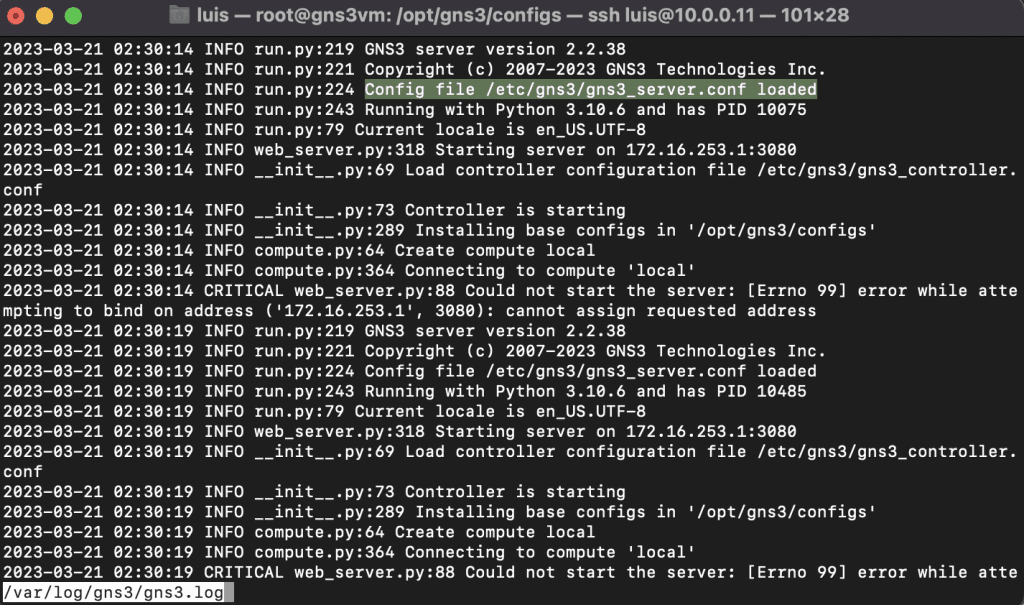
The controller config file can be found in the highlighted path shown above. At the same time we can see GNS3 is trying to listen on 172.16.253.1.
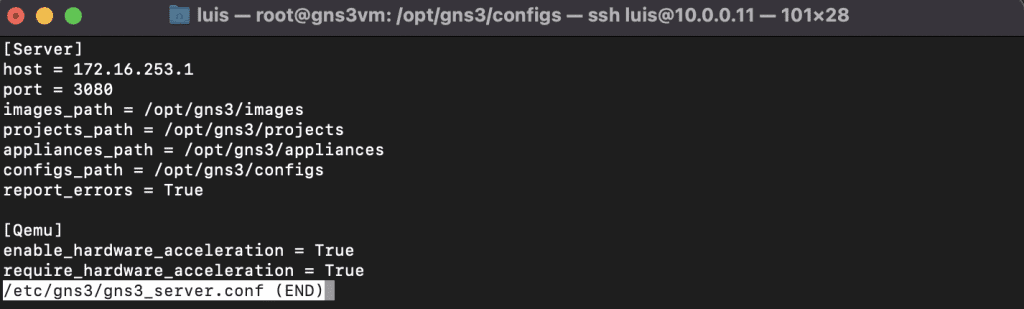
This seems to be the default IP configured in the installation. Change this to the local IP of your VM.
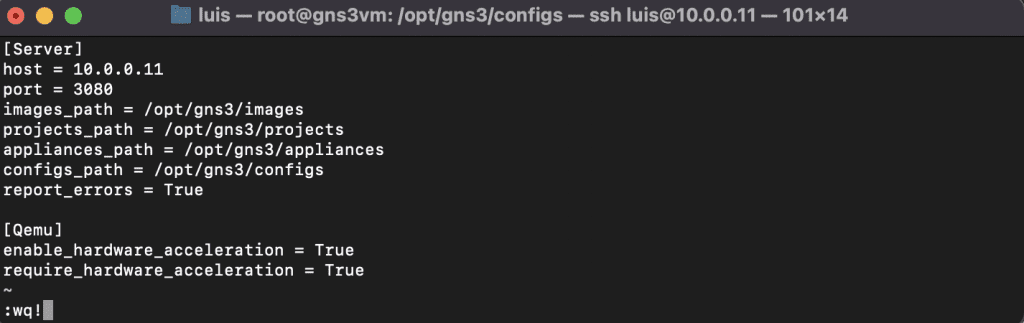
Restart GNS3 and check the status again. It should be running now.
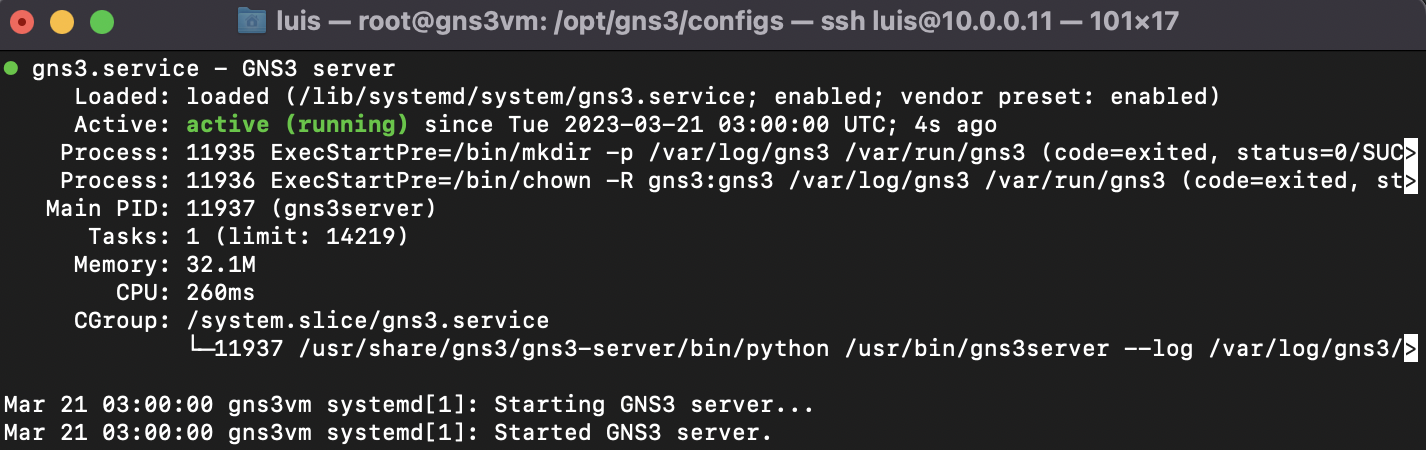
At this point you should be able to connect from a remote GNS3 GUI to this server.
Lastly to start GNS3 server automatically every reboot, just enable the service:
systemctl enable gns3